*WWW= What went well
*EBI= Even better if
*EBI= Even better if
|
|
|
Disguise
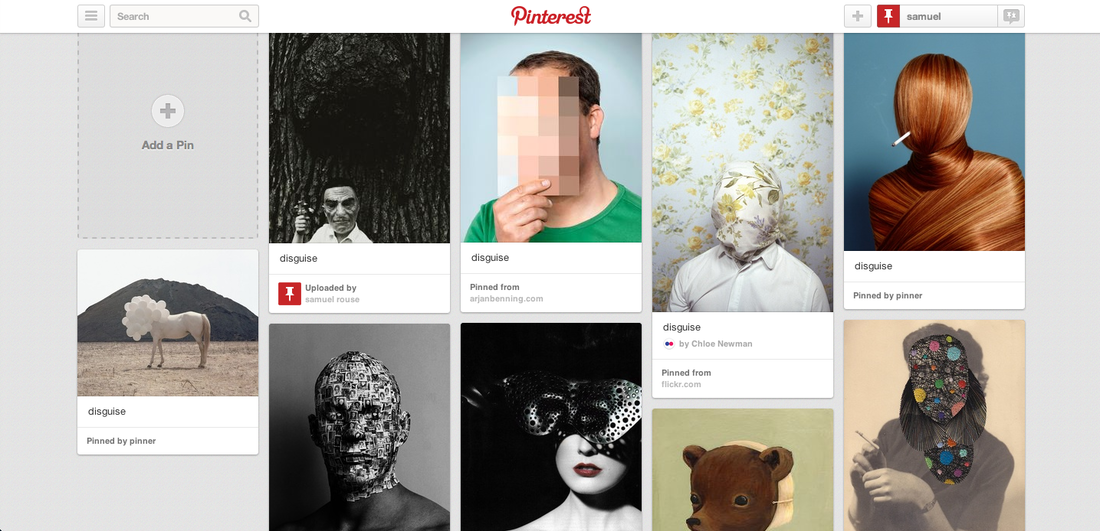
For my final piece I have decided to use disguise as my theme to create my final images, I have already looked at the work of Ralph Eugene Meatyard as much of his work consists of disguise and there are aspects of distortion in them. I want my final piece to be quite original I want to have them image in black and white but I don't want to many filters as I think this might ruin the look of my picture. I have made a Pinterest board which I will post below showings some examples of disguise which worked well. Also one of the reasons that I choose disguise as it has such a wide range of ways to implement, it can be very simple or complex staying very effective either way.
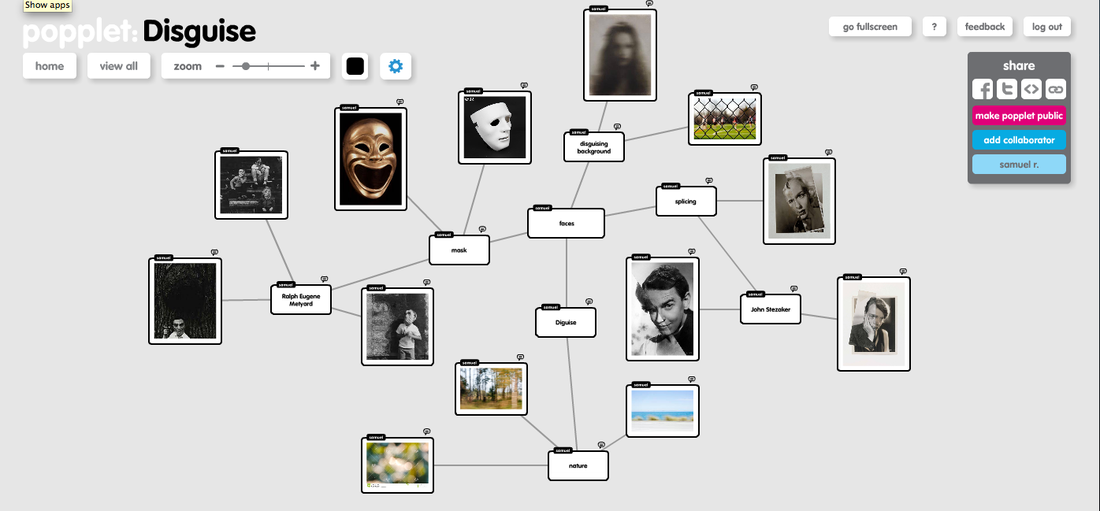
Popplet
Initial Research
|
Ive began to research the different forms of disguise photography and photographers who use this in there work and have experimented with it. Im looking at these two factors because they will benefit my work the most. Seeing the different forms will give me ideas on how to obtain the disguise pictures or obtain them as they're they can be quite obvious or very abstract. Also looking at photographers who have used this is there work will give me some inspiration for it.
Ralph Eugene Meatyard: I have already looked at some of his work and his disguises which come across as quite dark and sinister although this property that they have is quite effective. Although there quite scary I really wanted to try and show some of his own influence in my own work. There often black and white set in some derelict place like a run down house or some woods, not only does it disguise the subject the background is also disguise so there is no way of telling what it is |
|
Analysis of Eugene picture
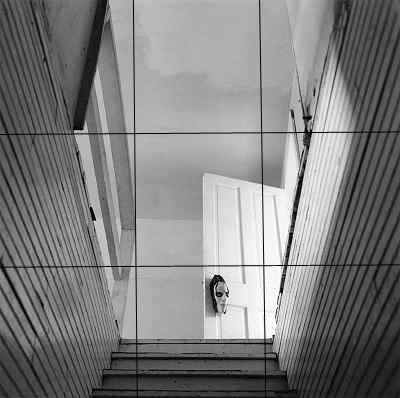
This was a image I found online by Ralph Eugene Meatyard, I choose this because the image causes a slight deception. what I mean by this is that when looking at the picture from a lower angle it looks like your looking up the stairs. However when looking from the a higher angle it appears your looking down the stairs but the door would be sideways? This is what first drew my attention to the picture as the angle and position that the picture was took it disguised and it leaves a lot of unanswered questions. Firstly the open door with the mask leaves you inquiring as you want to know what is behind the door. Also as you can see from the lines the middle section is definitely more bright which contrasts with the the left & right side which have a rougher texture and a darker tone. This draws attention to the centre of the picture and I think this contrast of the tones gives the deception look. Although it is looking upstairs but its hard to tell, also the mask on the door is very central however it is in the lower section this means your attention is not immediately drawn to it as its of the centre line.
First set: mask
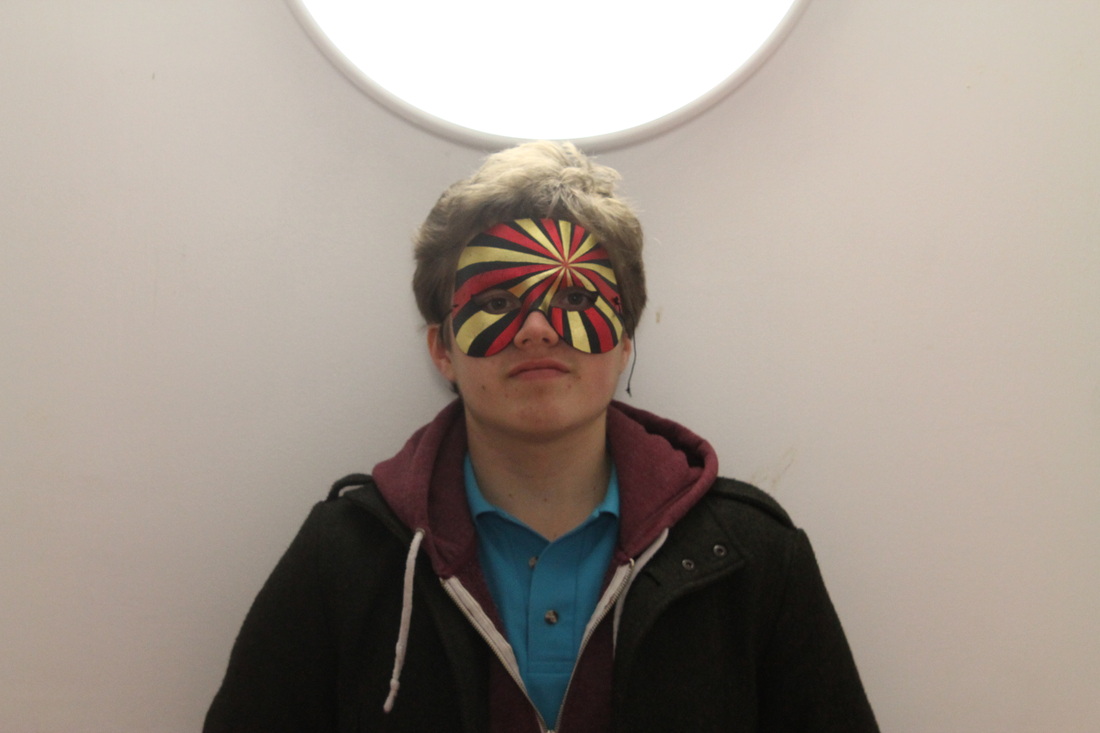
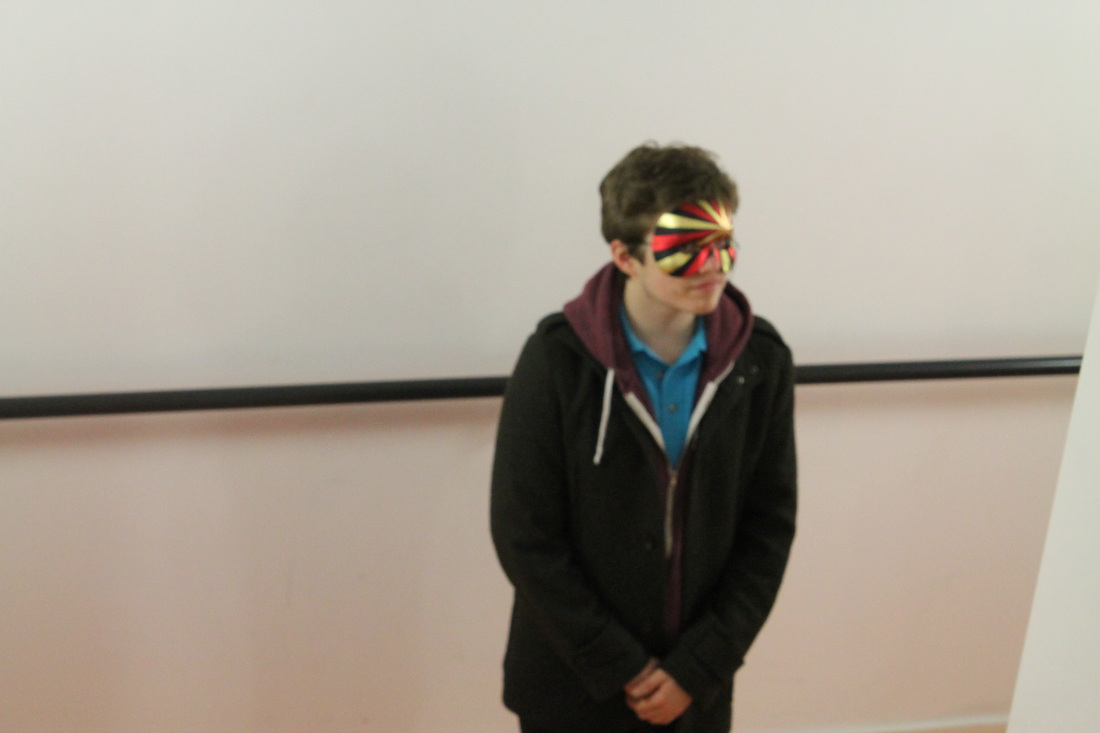
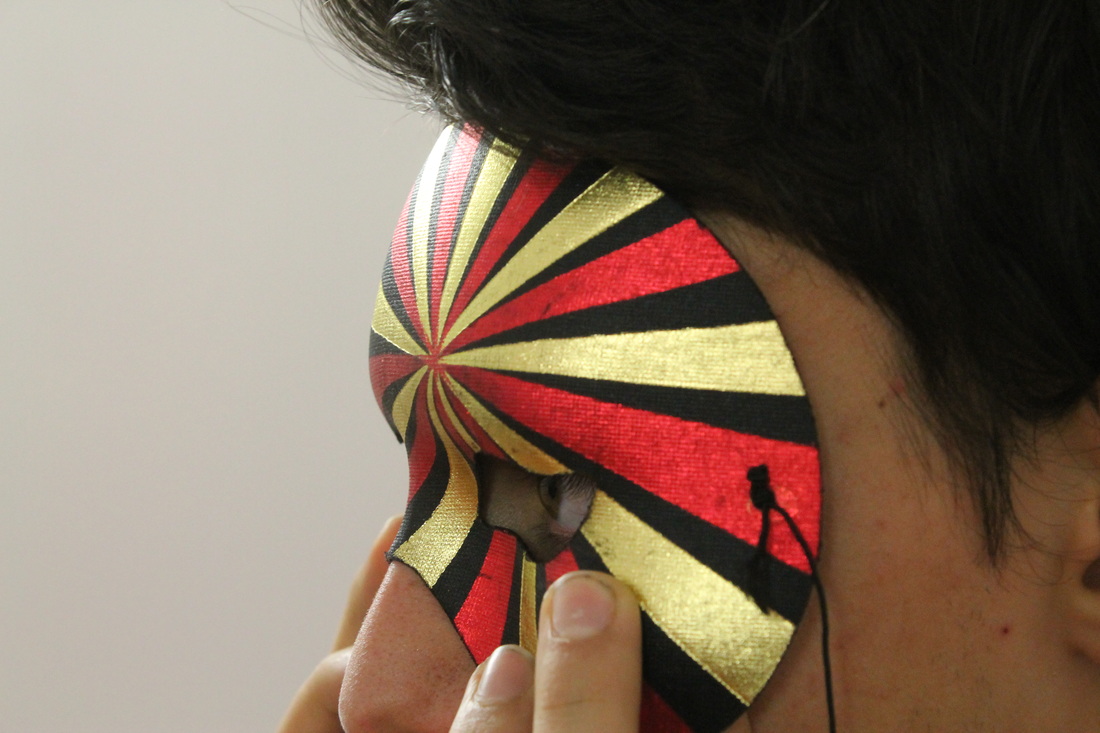

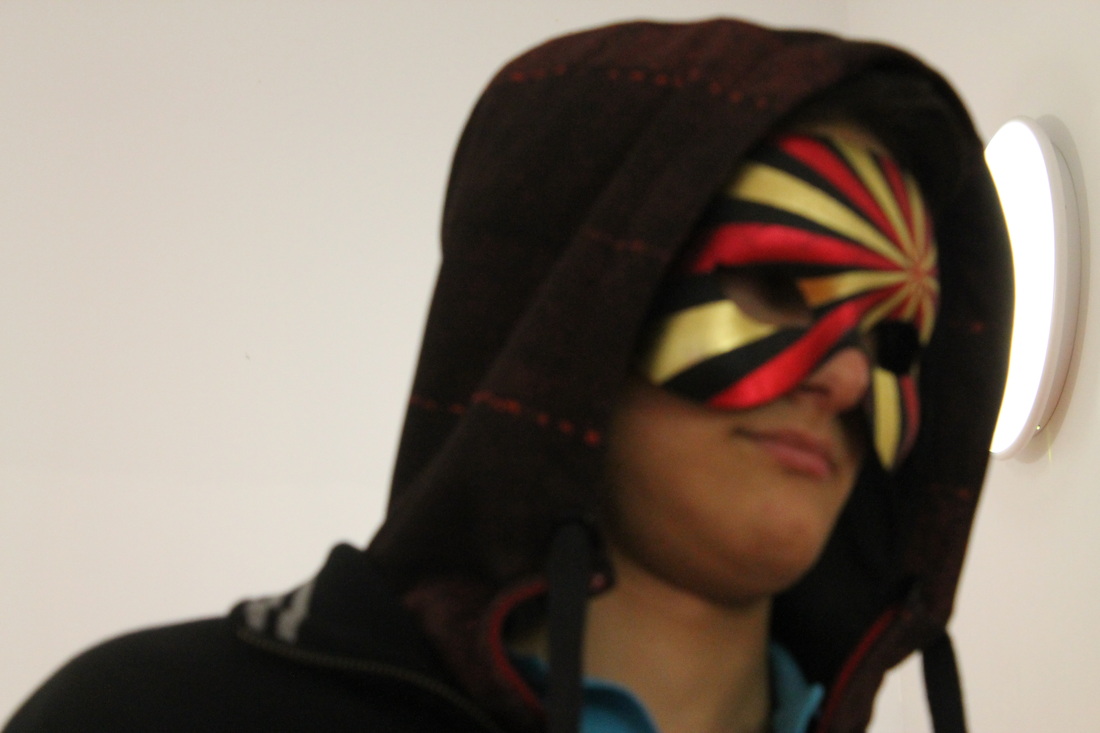
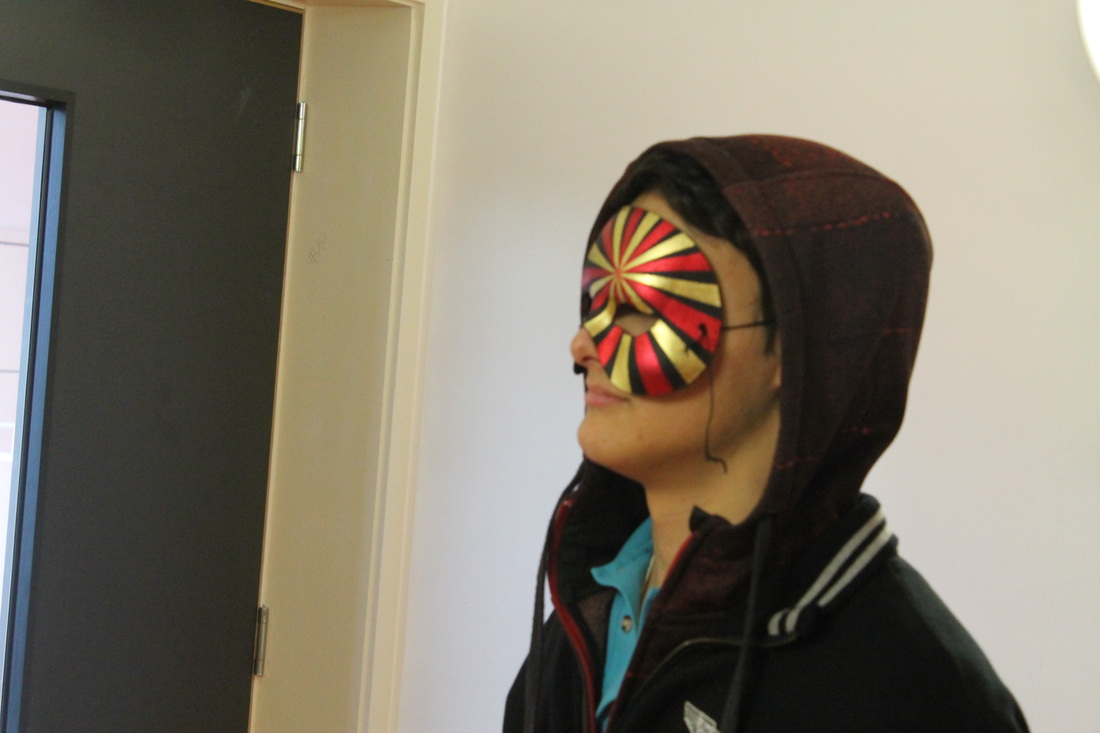
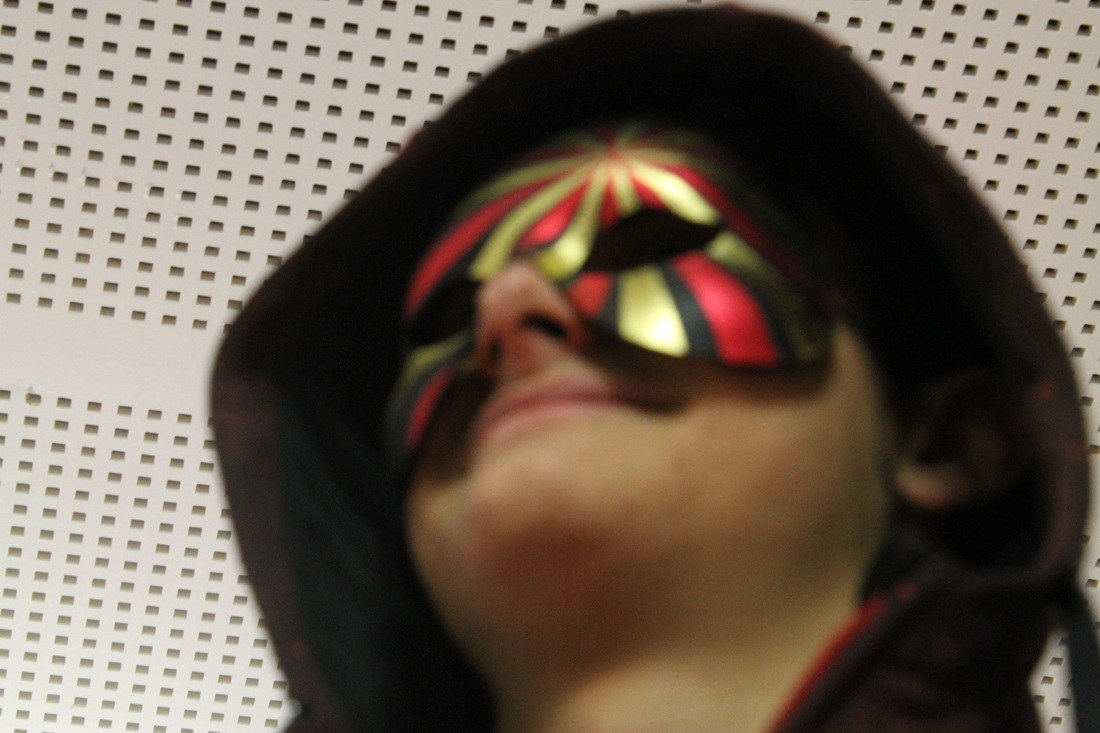
WWWThis was my first set of images I didn't have much of a plan going to take these pictures it was more of a experiment, I tried to not have the subject looking at the camera therefore creating a more natural look. I was impressed with the look as although it was simple setting with quite simple postures the subject was sufficently disguised it came together well. It leaves the viewer wondering if the pictures are related in anyway or if theres a story behind it. Also the fact its in a hall way makes the surrounding seem unknown
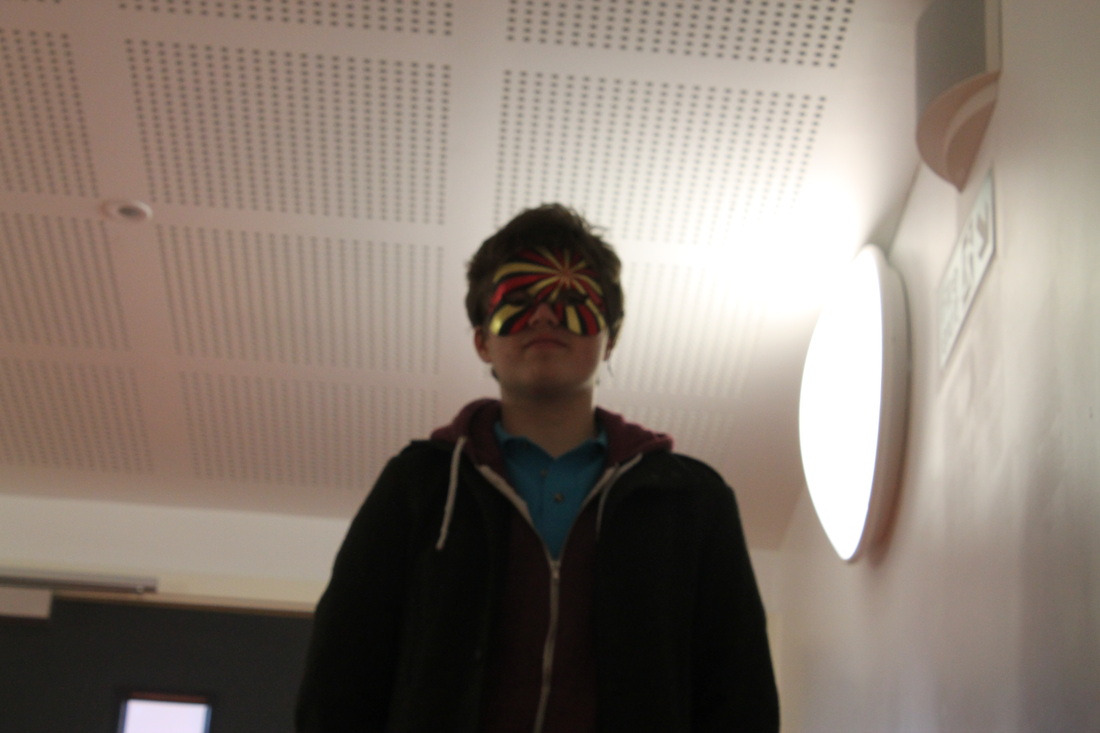
|
EBIAs I hadn't really planned it the pictures weren't planned which isin't always a bad thing however in this case some of them were a little bit boring and straigt forward. Also using some kind of filter e.g black and white for the pictures could of brought out that isolated feel I get when I see Ralph Eugene Meatyard pictures as there very effective. However I want to distinguish my pictures from his and put my own twist on them so there unique but Im more just ding his work for inspiration.
|
Second set: looking & Backgrounds

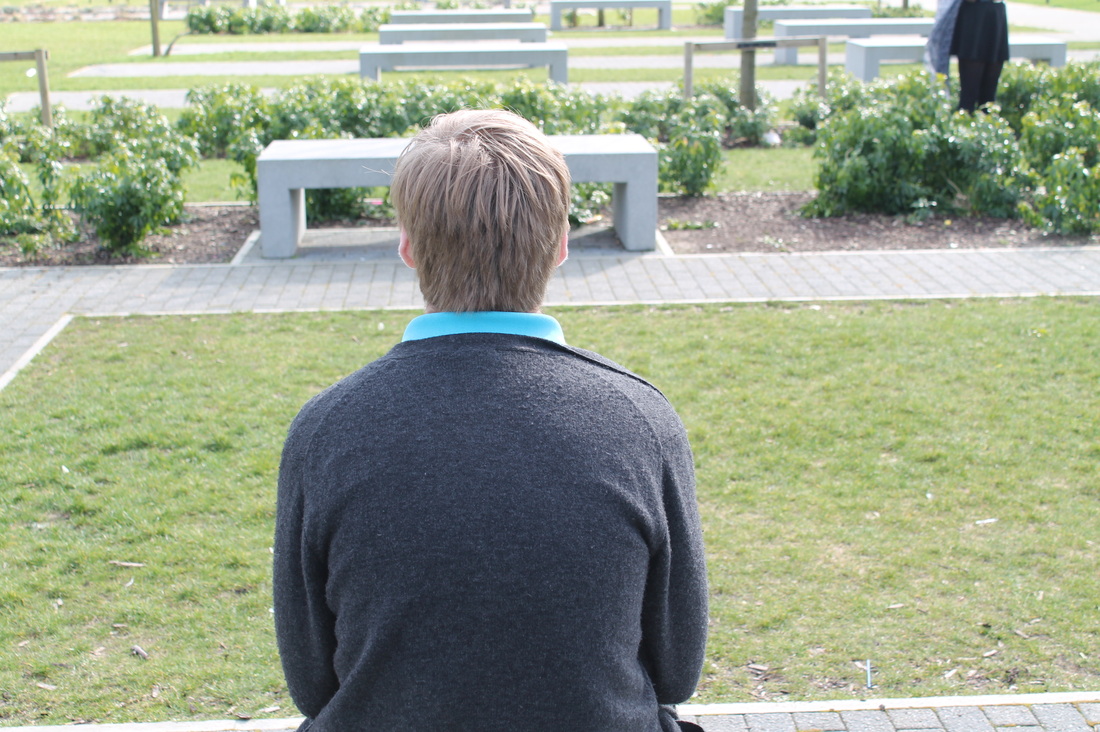
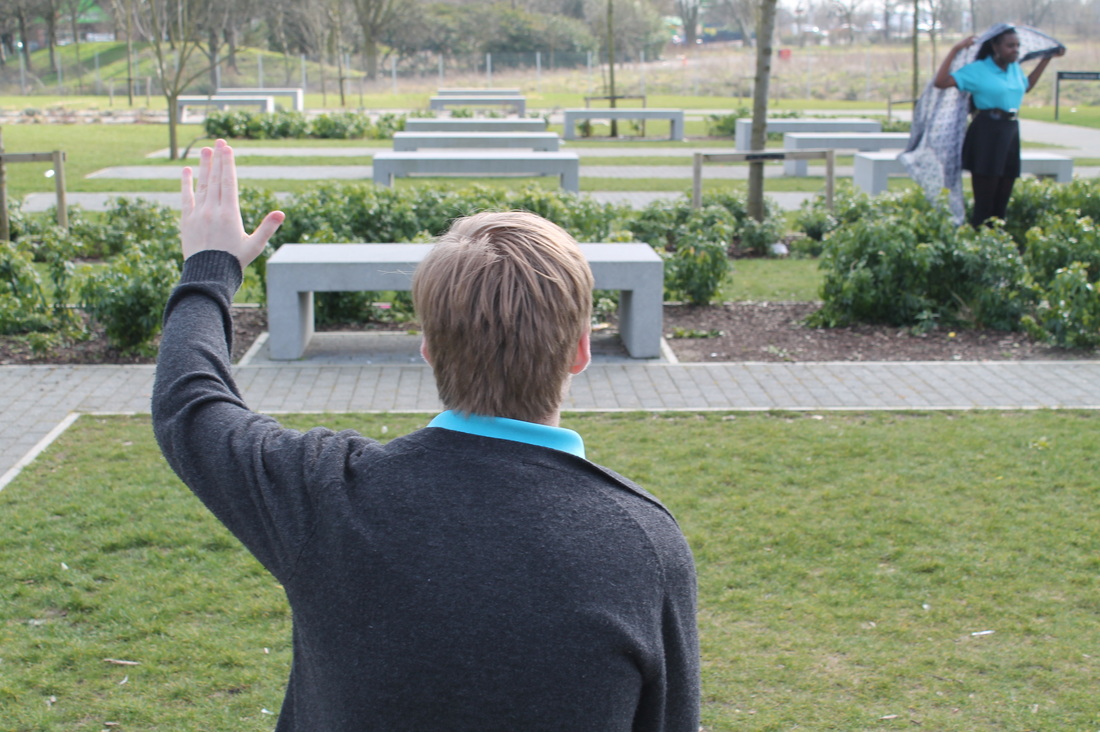
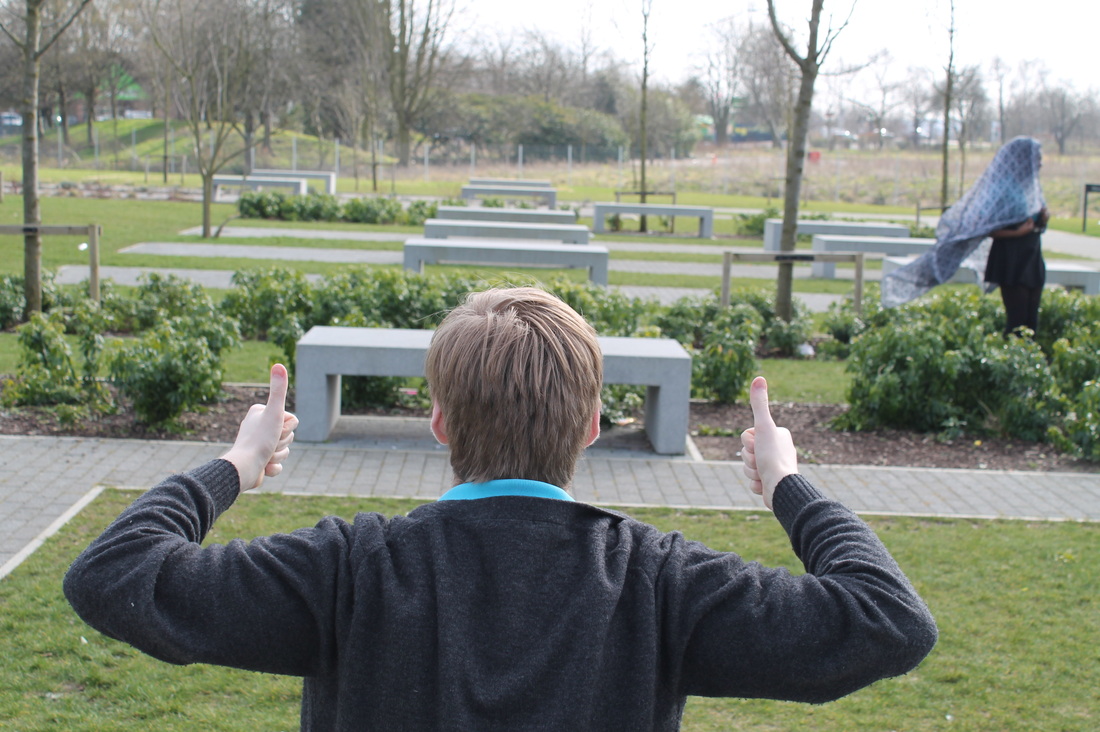
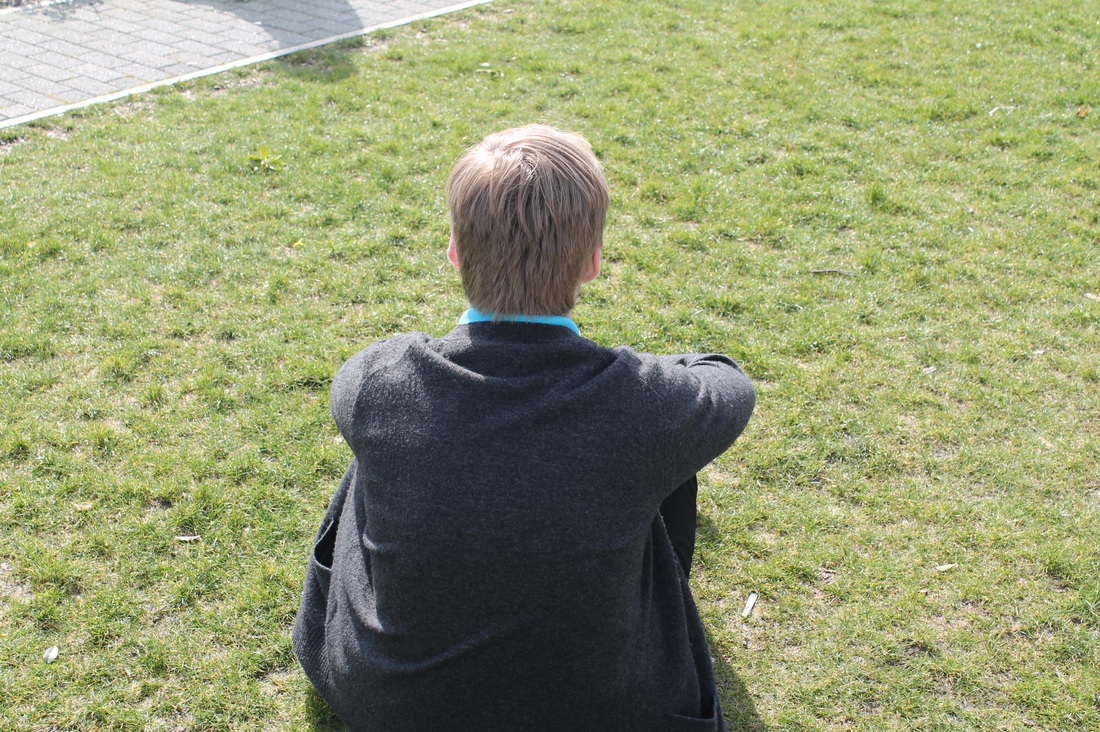
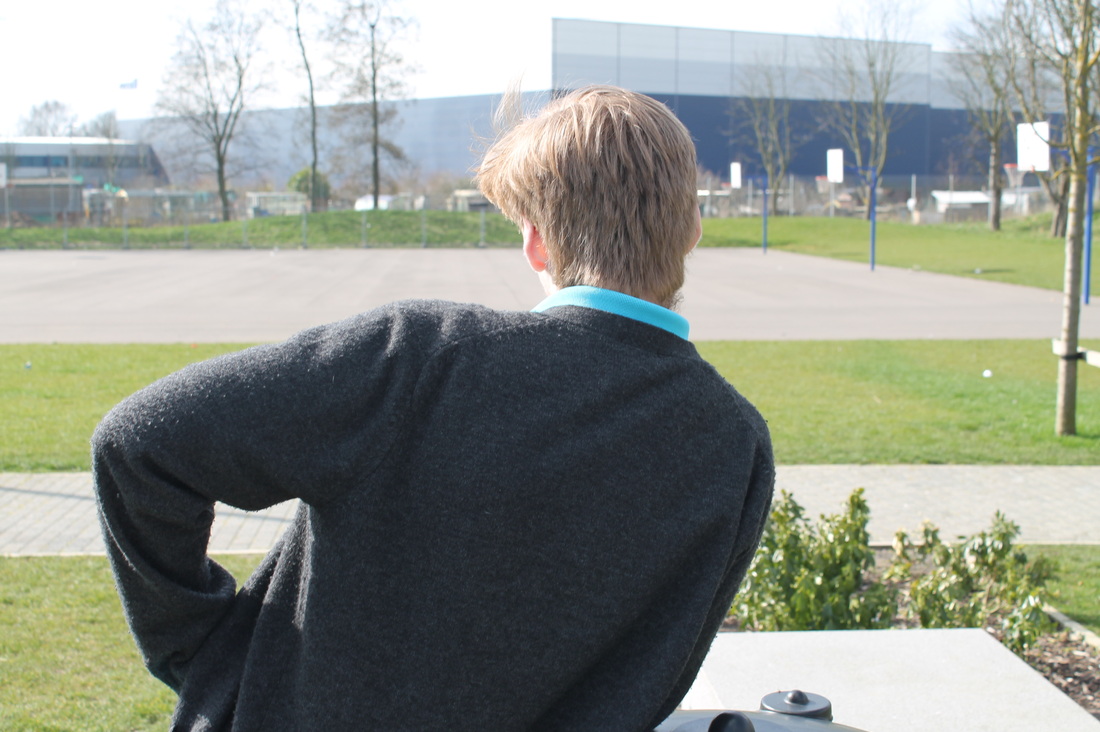
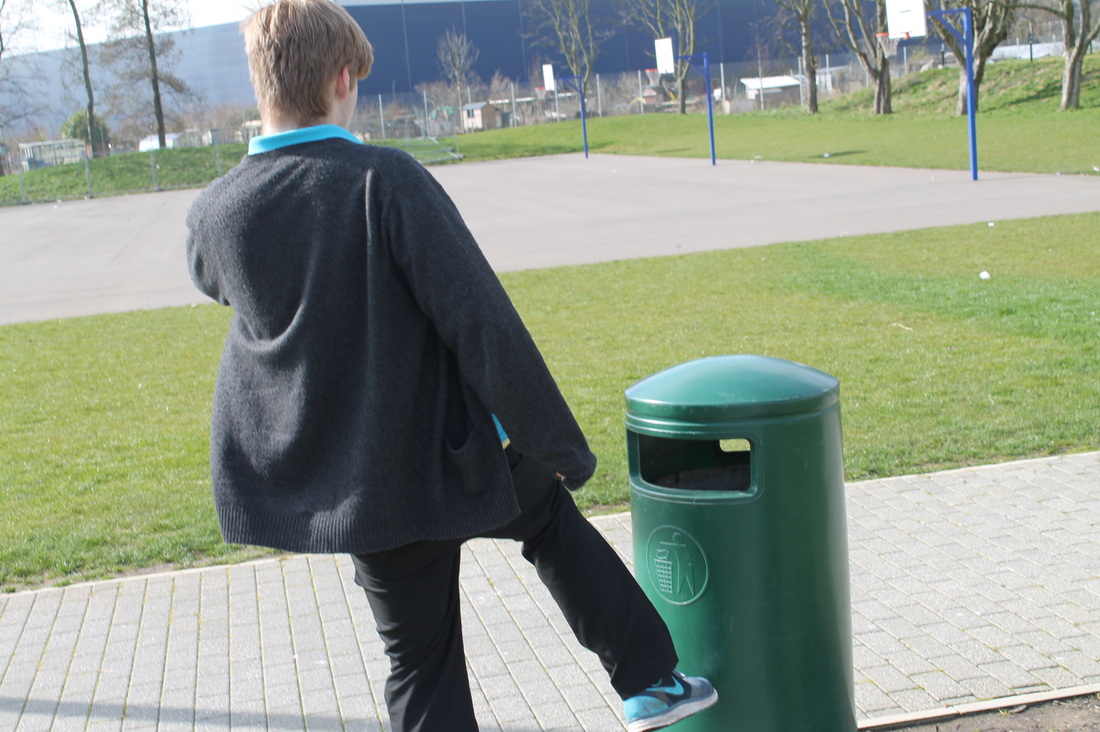
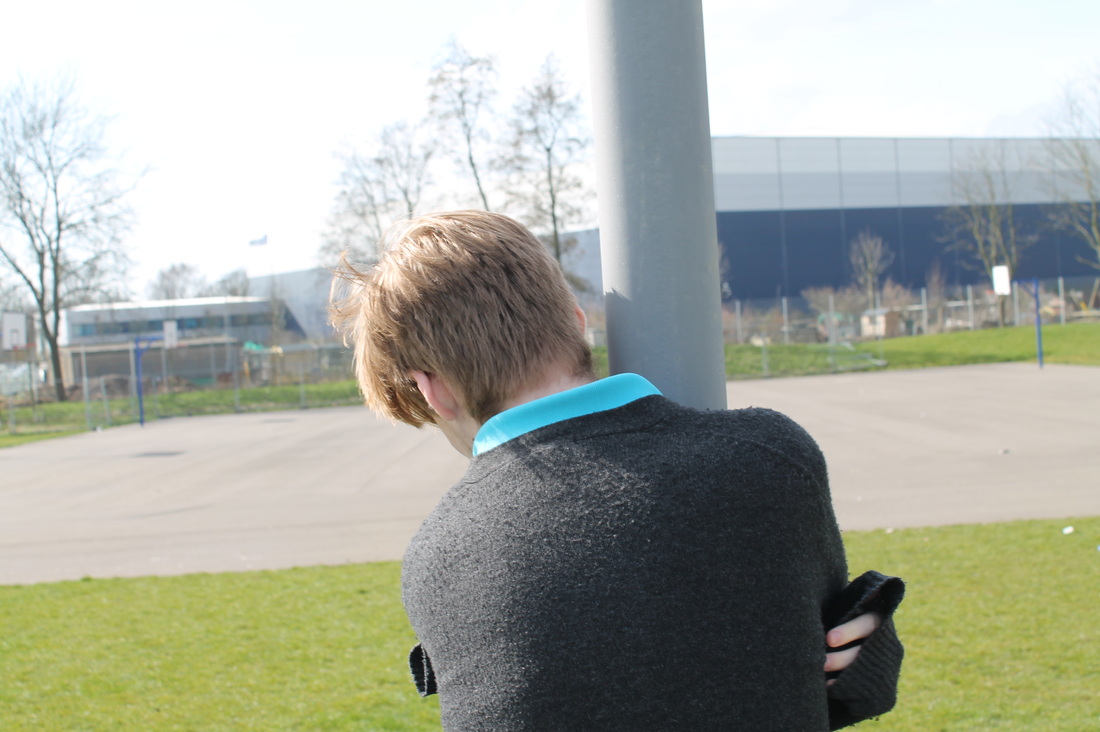
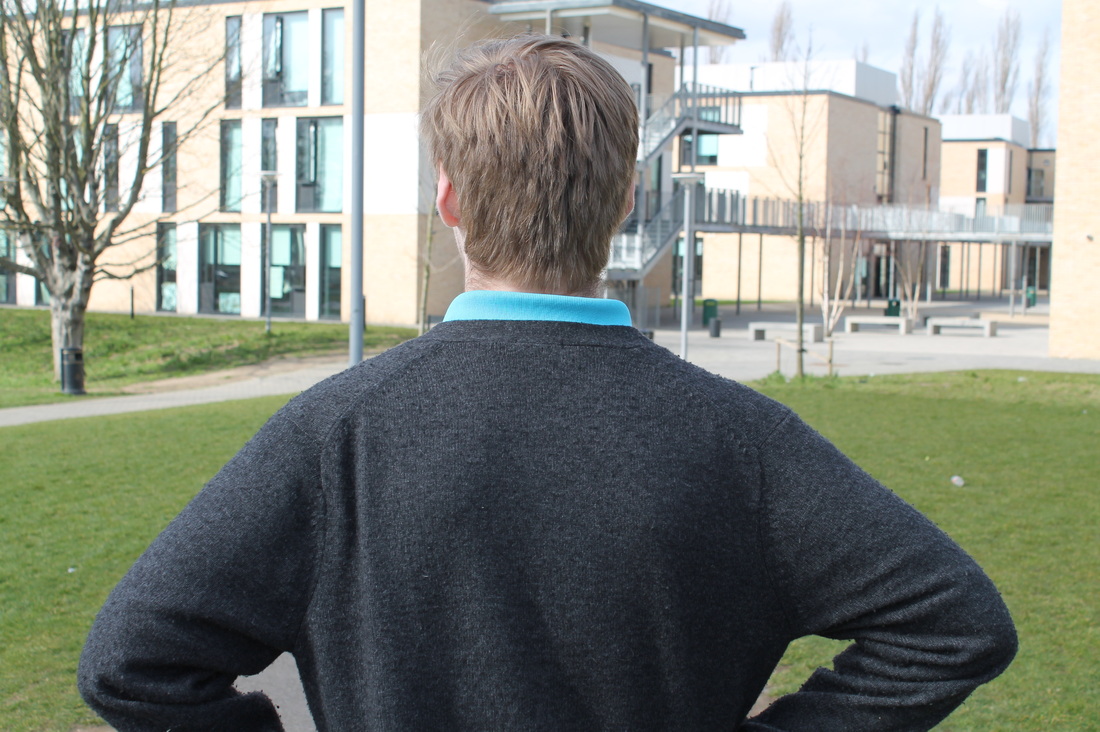
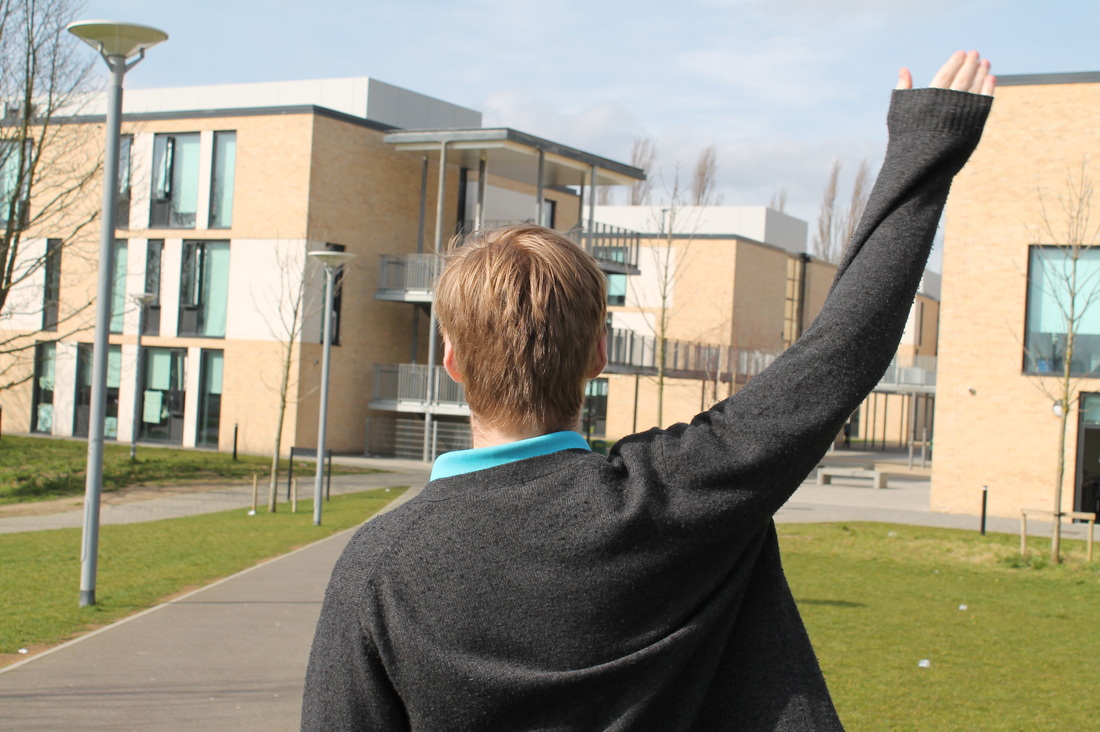
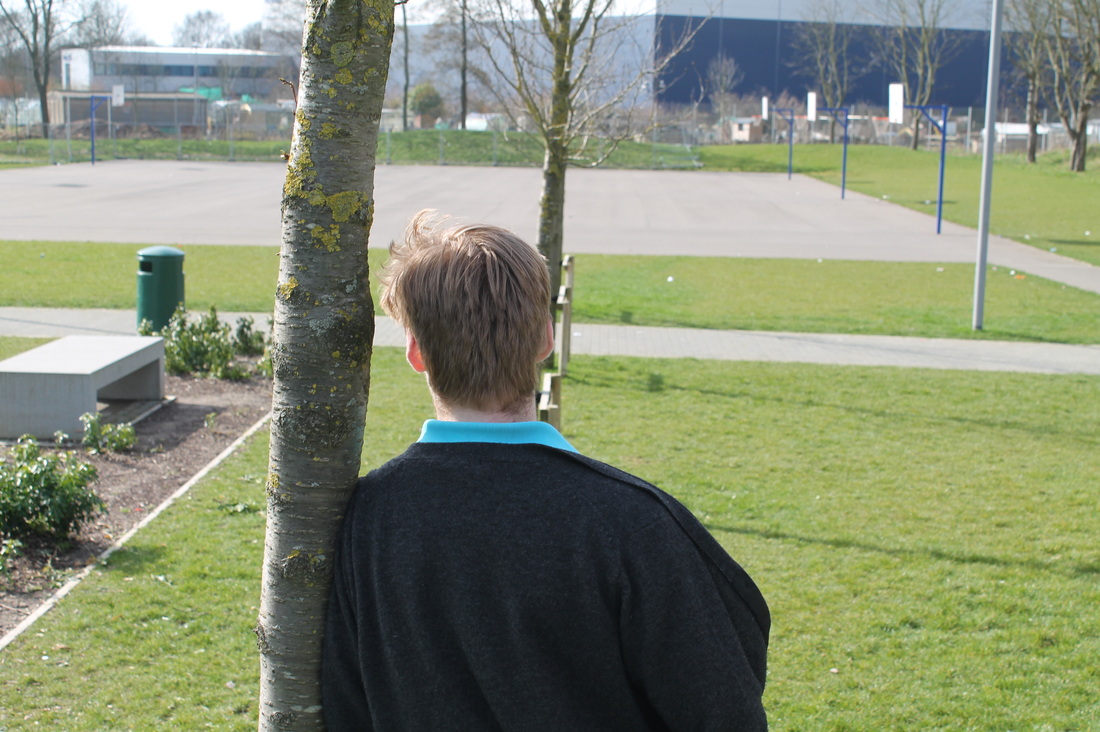

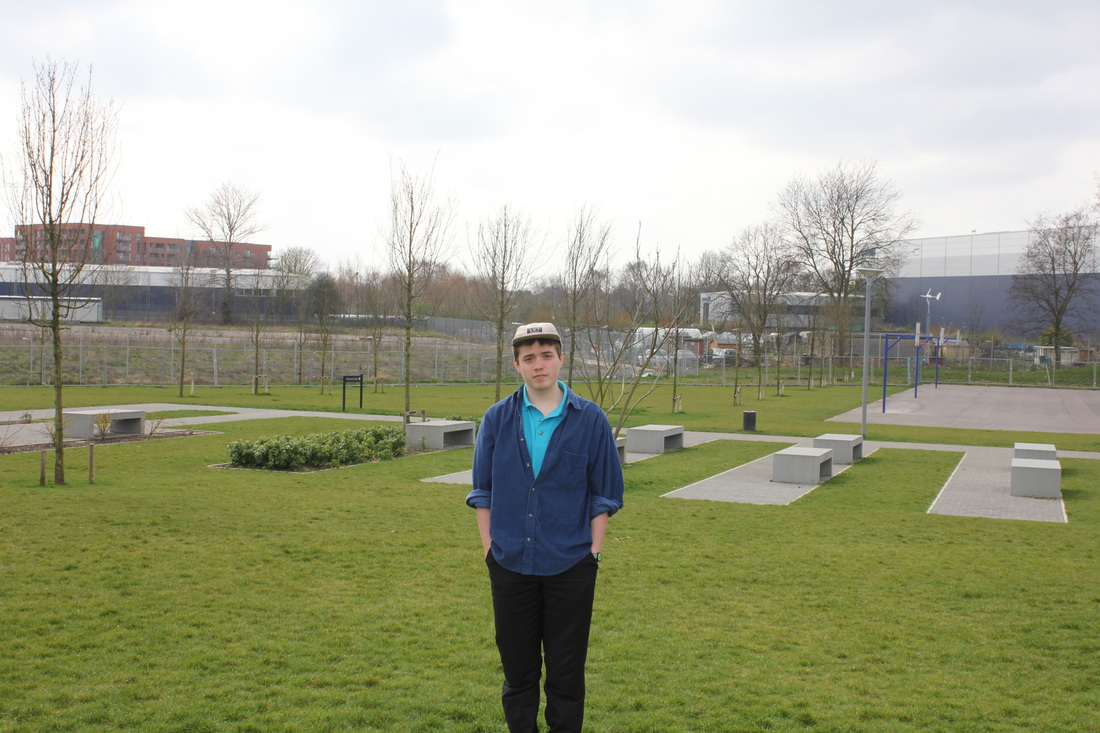
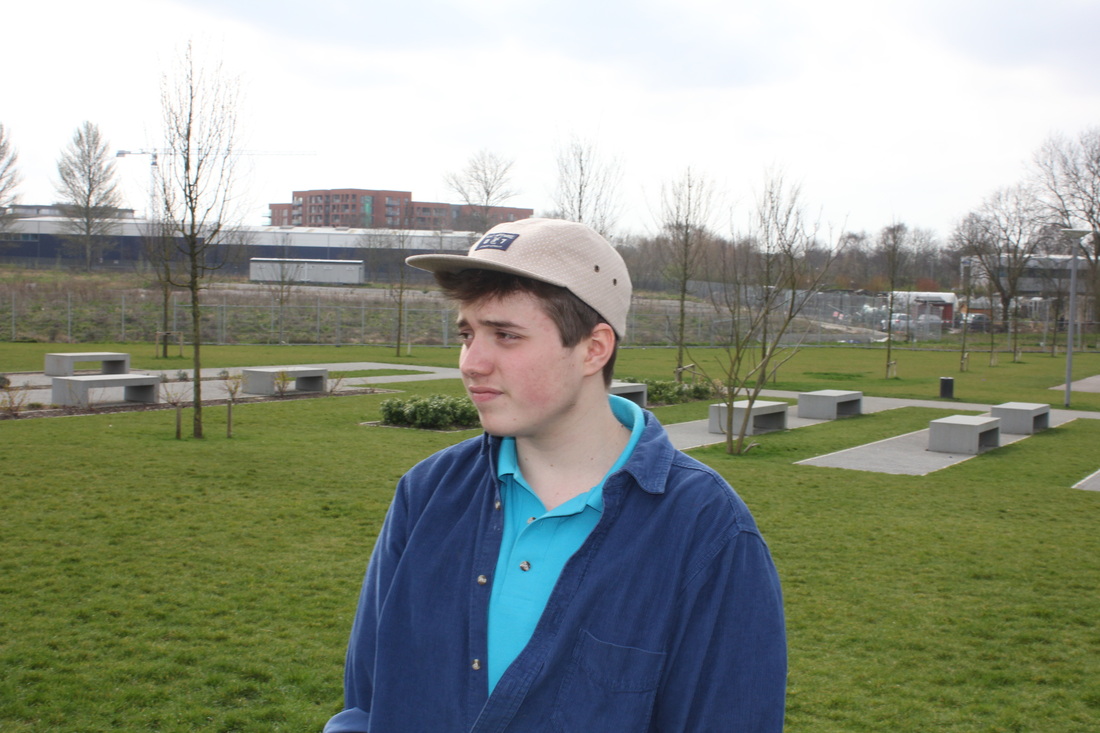
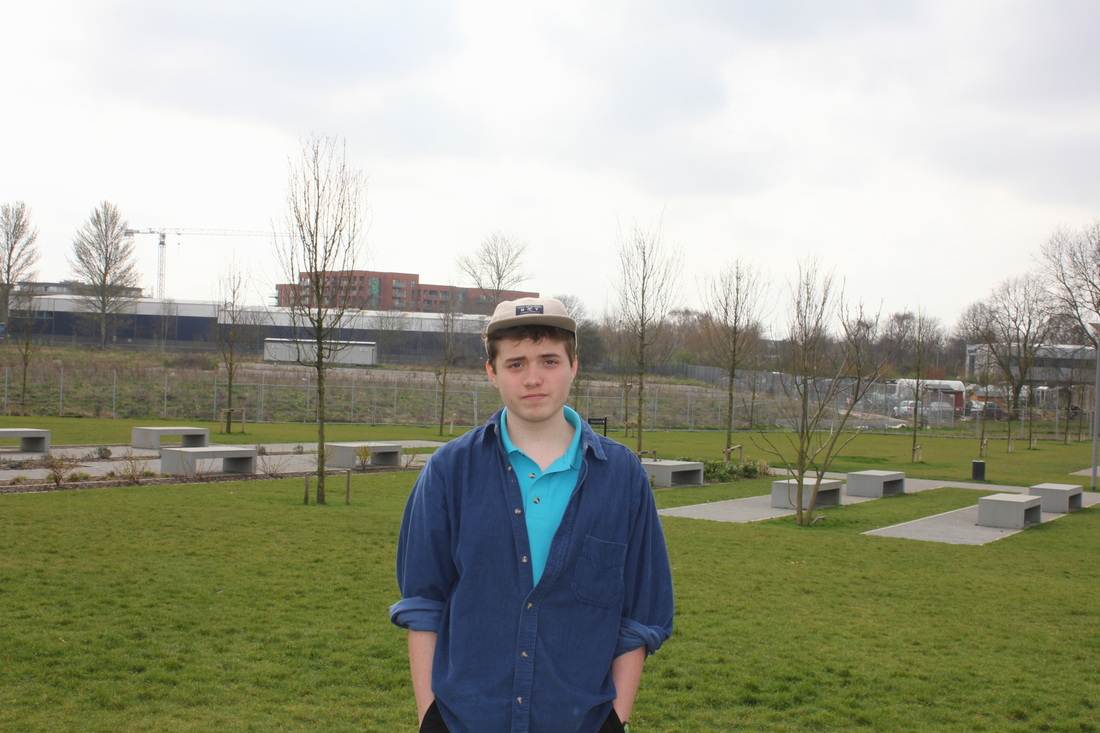
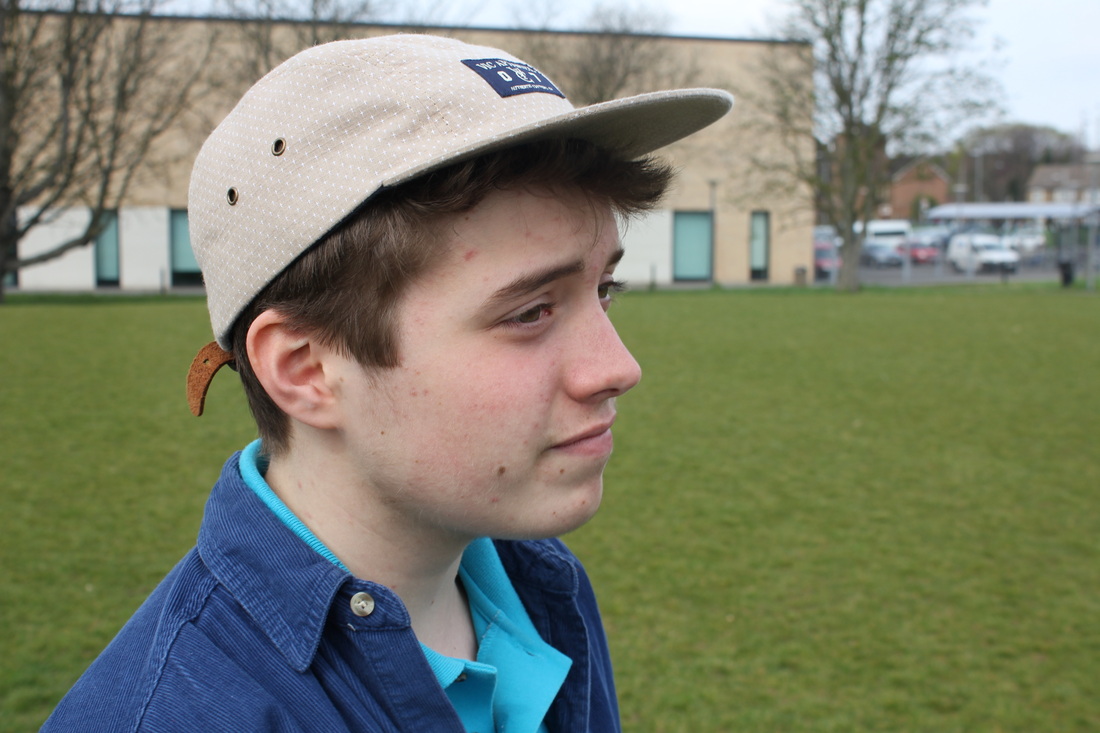
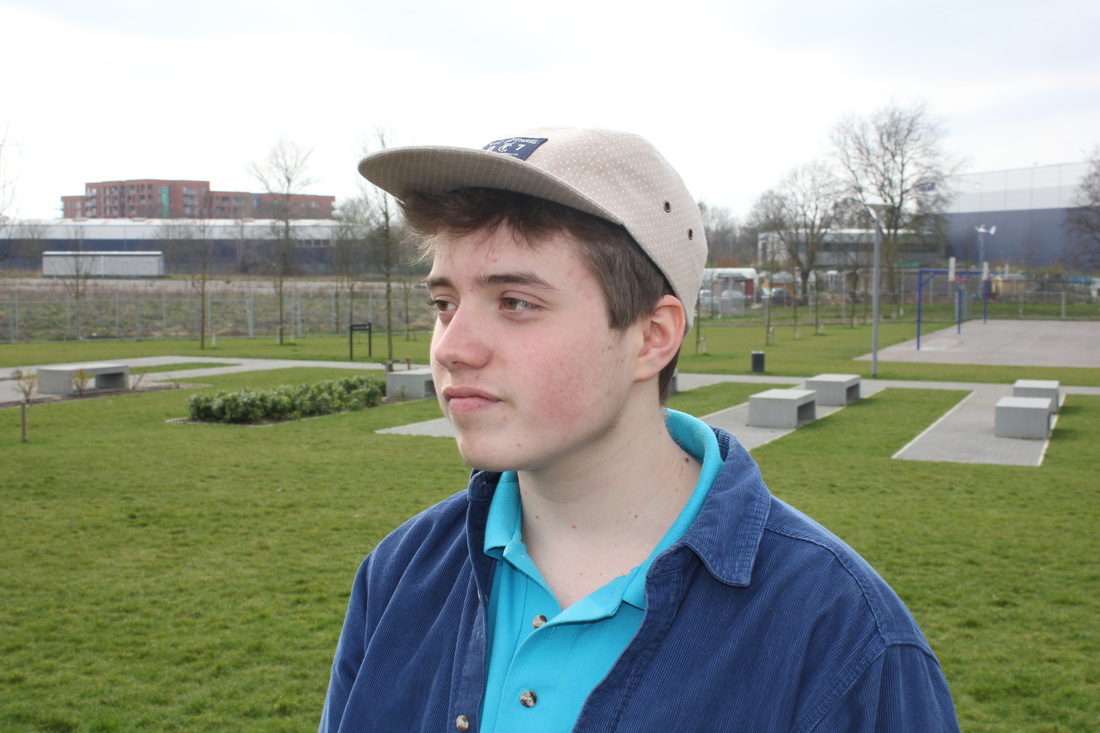
wwwThis set as definitely better than my last set as firstly I thought that this set was more abstract, I actually had a idea this time of what I wanted i to be about. The idea of this piece was to have someone performing the usual poses that someone does in a photo however the photos were taken from behind using a DSLR. I wanted to experiment with disguise but without using a mask because felt like that was the common way so I had a thought about ways disguise can be incorporated in a photo. I also had a thought about what makes a piece of photography disguise photography, I tried to have shay quite central in the photo as in this set he was quite important so having him centered worked well. This is because it made people who saw the image notice him and wonder why he was facing the other direction.
|
EBIThere wasn't any link between these photos which isn't always a bad but thing however it would of made the set more interesting. next time I make a set i'm either going to have less images so it doesn't matter or a similar amount of images but they are related to each other. Also as i'm doing disguise I was thinking about either having the object out of focus or having the background out of focus. I think that adding more aspects of disguise into each picture will make them more effective. If my next set is similar to this one I would have the background out of focus but leave the foreground in focus as the identity is already disguised. Next set i'm going to create a very large set and use the grid in my photos so the photos have a better proportion.
|
Third set: experimenting with photoshop
Original
Photoshop pair 1
|
|
Photoshop pair 2
|
|
Photoshop pair 3
|
|
Evaluation
WWW:
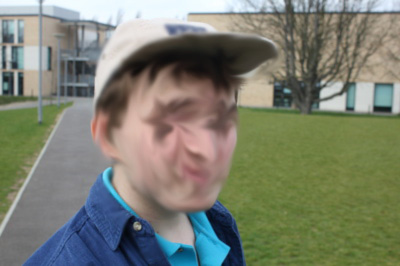
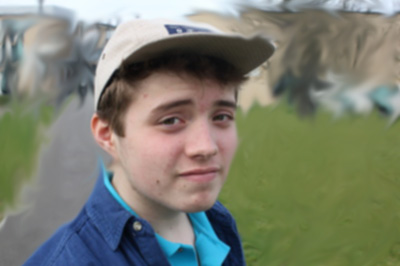
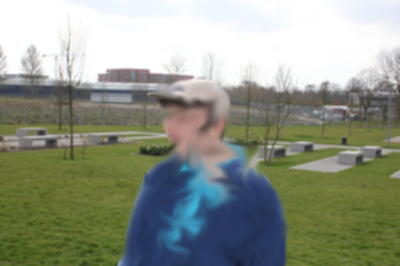
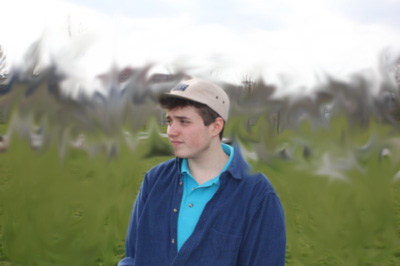
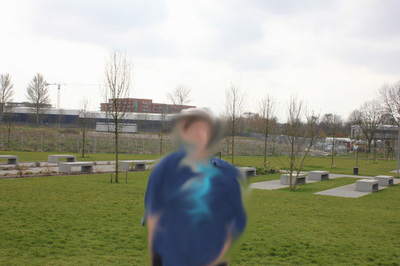
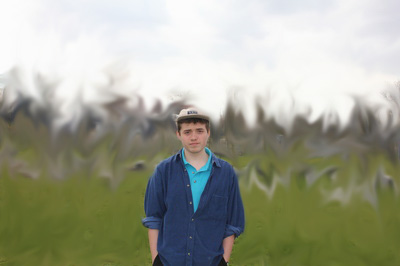
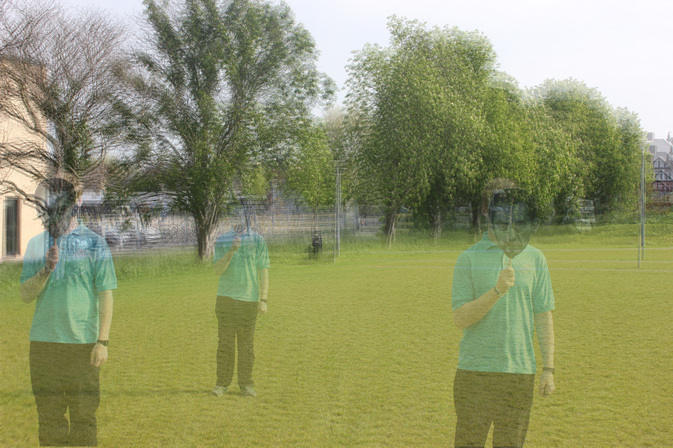
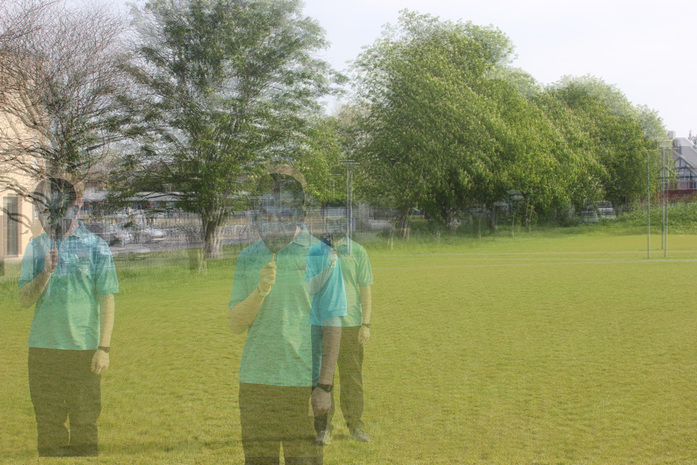
This is by far my favourite set of pictures so and i felt like my ideas were more developed this time. To start of I simply took about eight pictures no filters or effects and at this point I was trying to keep the whole image in focus, also I had my subject looking natural as I thought this would create a better outcome. After I had took the pictures and uploaded them I choose three pictures which one being close and the next two being further back each time. Then I duplicated each picture once so that I had three sets of images, then with each set one of the images had the subject disguised while the other had to background disguised. Firstly I thought it was interesting as it compared how each image looked when different parts where blurred, this allowed me to pick which one I liked better
This is by far my favourite set of pictures so and i felt like my ideas were more developed this time. To start of I simply took about eight pictures no filters or effects and at this point I was trying to keep the whole image in focus, also I had my subject looking natural as I thought this would create a better outcome. After I had took the pictures and uploaded them I choose three pictures which one being close and the next two being further back each time. Then I duplicated each picture once so that I had three sets of images, then with each set one of the images had the subject disguised while the other had to background disguised. Firstly I thought it was interesting as it compared how each image looked when different parts where blurred, this allowed me to pick which one I liked better
EBI:
Next time Im going to refine my photoshop skills so that any editing I do to my photos has a professional look. Also this activity wasn't that helpful in my research, I felt that i didn't gain a lot from this set of images as it was more of a experiment rather than anything serious. The photoshop skills were fairly basic and didn't really take a lot of skill the effects used could of been a lot more creative for example having lines which were blurred or having one half of the image completely distorted and the other untouched. Having more people in the image or just more objects which had considerable effect on the picture would be something I will try and do in future photos. This is because it allows more the images to be experimented with more for example one person could be distorted and the other could be wearing a mask showing two different approaches to disguise photography in one.
Next time Im going to refine my photoshop skills so that any editing I do to my photos has a professional look. Also this activity wasn't that helpful in my research, I felt that i didn't gain a lot from this set of images as it was more of a experiment rather than anything serious. The photoshop skills were fairly basic and didn't really take a lot of skill the effects used could of been a lot more creative for example having lines which were blurred or having one half of the image completely distorted and the other untouched. Having more people in the image or just more objects which had considerable effect on the picture would be something I will try and do in future photos. This is because it allows more the images to be experimented with more for example one person could be distorted and the other could be wearing a mask showing two different approaches to disguise photography in one.
John Stezaker research
|
|
I'm looking at John Stezaker photographs as his take on disguise photography is different to others photographers I have witnessed. In his images he often splices the faces of two people together or has a image obscuring a part of a larger image. However it was the double face images which I found really interesting i'm going to implement it into my work, it creates a very surreal work and disguises very well also theres no limit to how many pictures you can put together. In his images his usually only puts to images together however you could easily implement many more photos into the process. I really like this type of disguise and i think its very effective, it allows you to be really creative. Im planing on making a set focusing around these images, my favourite image out of his images is the one of the man and the woman spliced together diagonally down the image
|
Analysis: John stezaker image
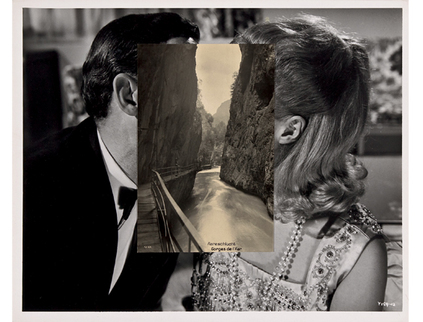
This is one image by John Stezaker which I found to be my favourite out of his work. This is a good representation of his work, this image is where he has used a smaller image and edited it onto a bigger picture as a form of disguise. I really like this image, firstly I like the contrast of the colors as the central image has more of a sepia effect compared to the black and white of the other image. This means your attention is drawn to the picture in the middle. The central image fits with really well with the larger image creating a very surreal look. The rock faces could represent no emotions or very little emotion of the people, although the picture suggests a lot of things which is why the type of disguise is so effective as it brings two different things together.
Fouth set: overlapping
photoshop 1
Photoshop 2
WWWI liked this method of having pictures layered onto of each other it disguises the subject quite well due to translucent effect the edited picture takes on. Im going to use this same idea in one my two final pieces, this technique also disguises the location which I like. Especially with this picture the mask has a sinister look to it and the translucently makes everything a little obscured and its hard to tell whats going on.
|
EBII could have used two subjects in the picture to make both with different disguises this would of made it more interesting. Also my skills on photoshop were useless I wasn't really sure on how to create what I wanted although I eventually got what I wanted there was probably a better way to do it. Next time I do something similar I will make sure to not rush in photoshop and possible apply a filter as Something like a black & white filter here would really help.
|
Fifth set: Bottle distortion

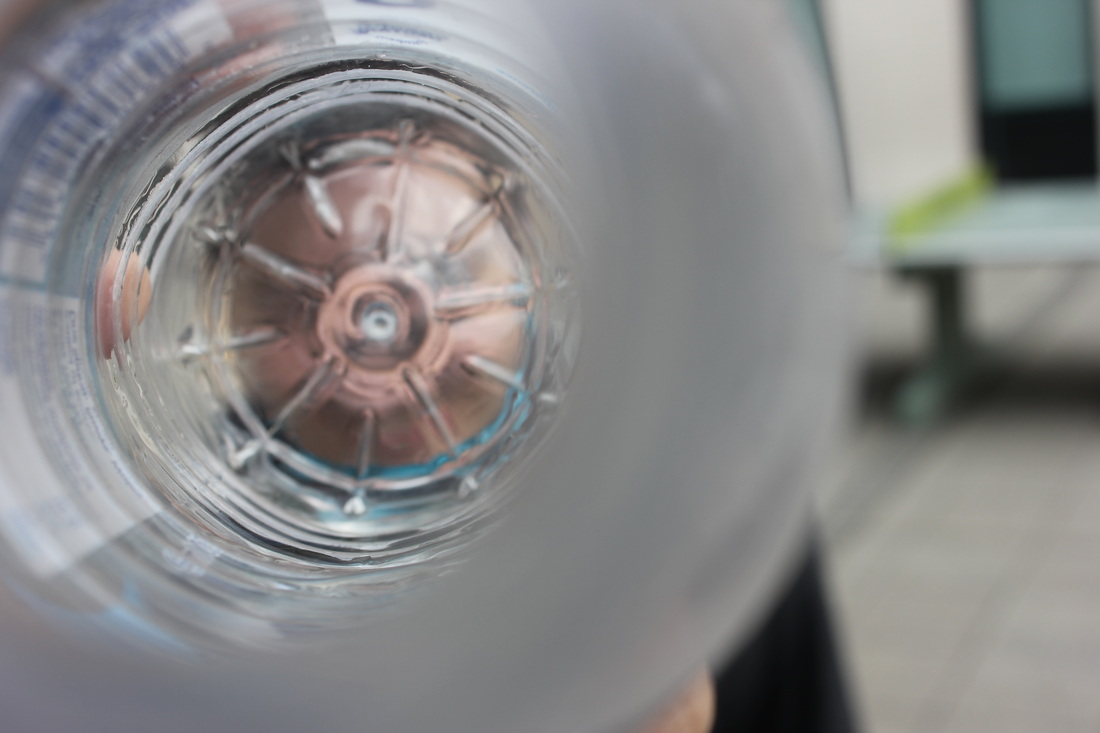
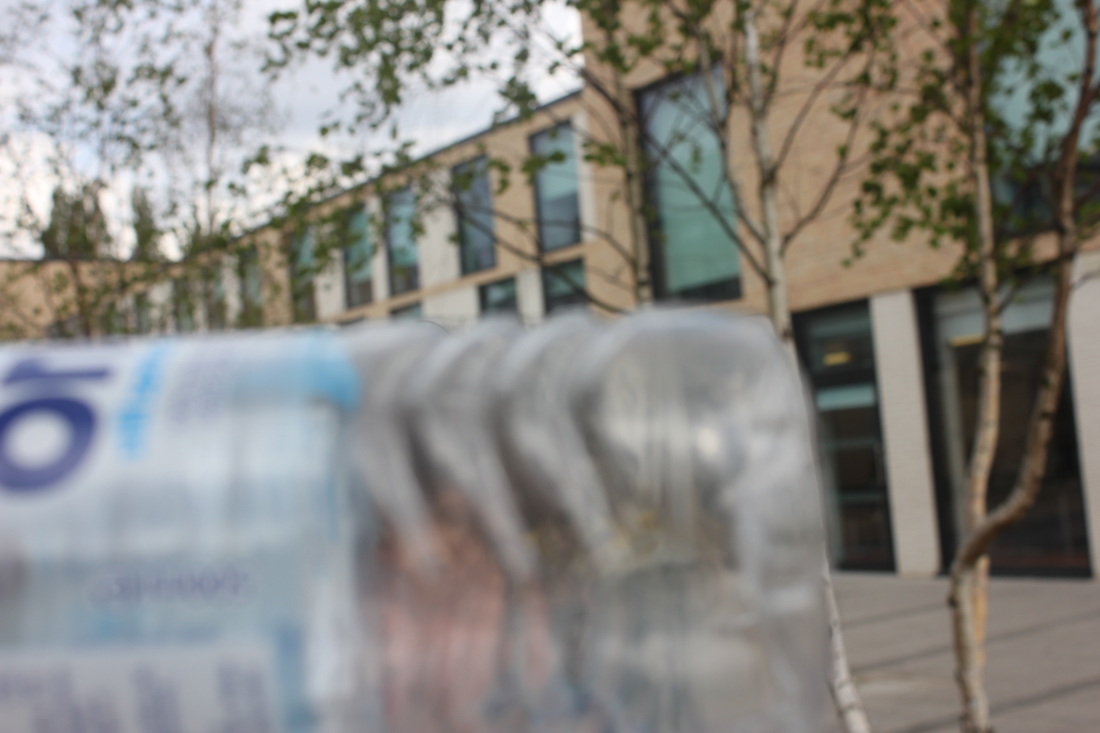
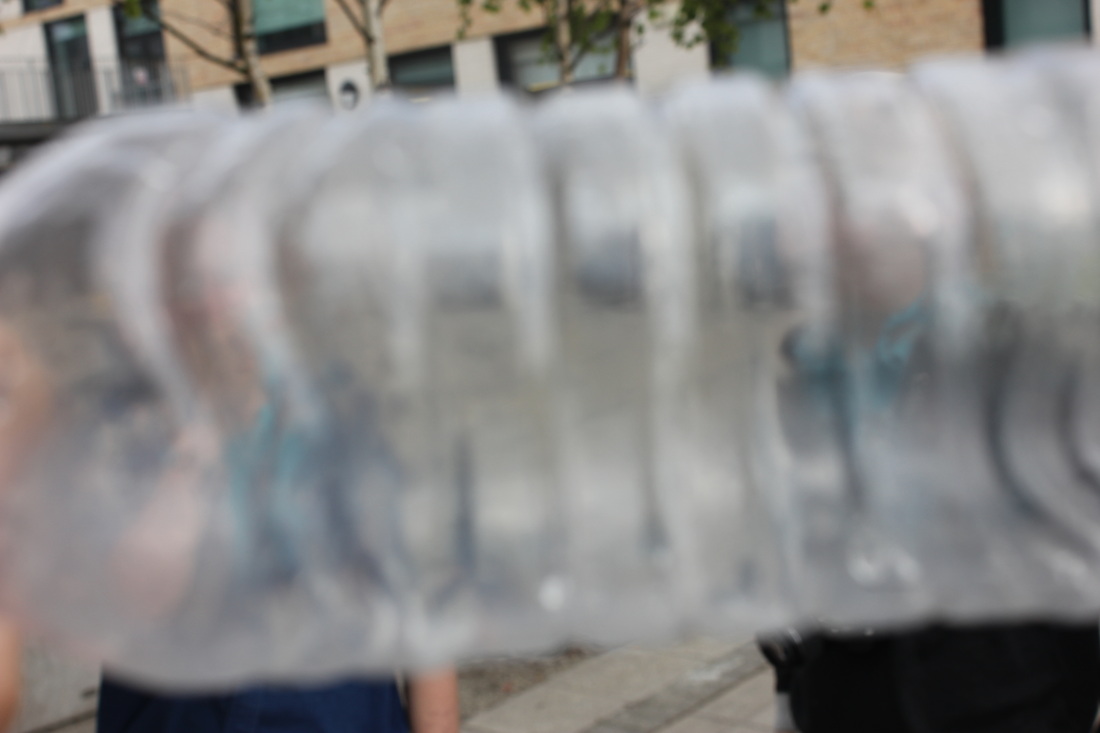
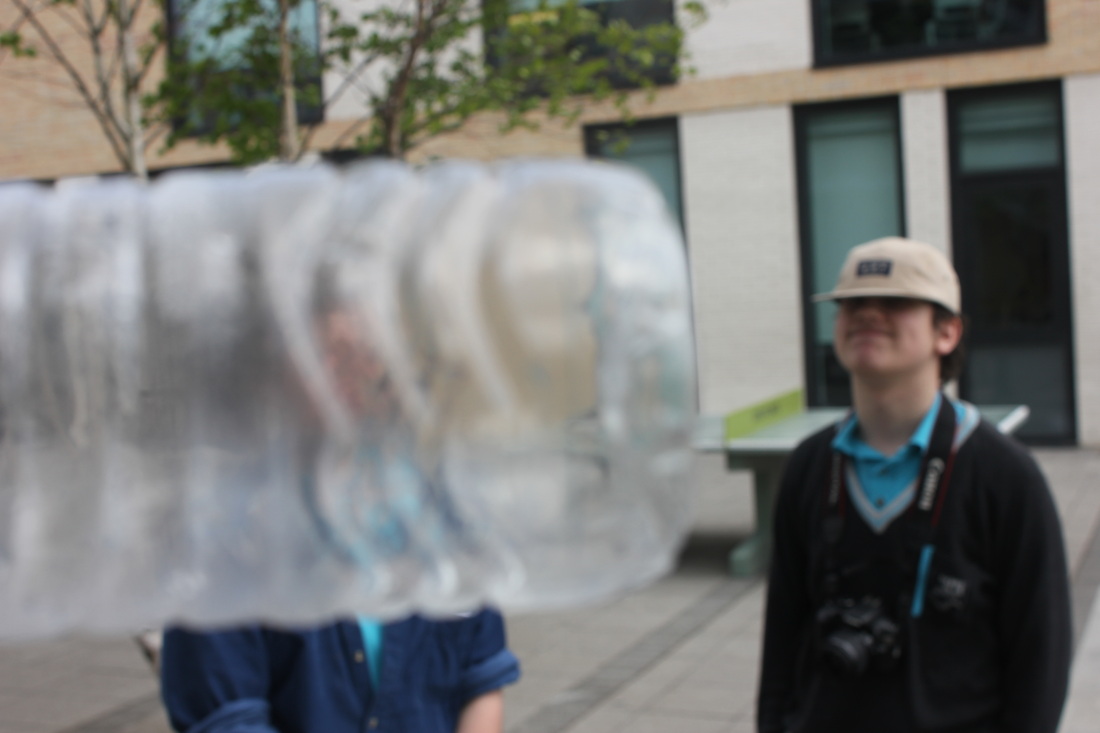
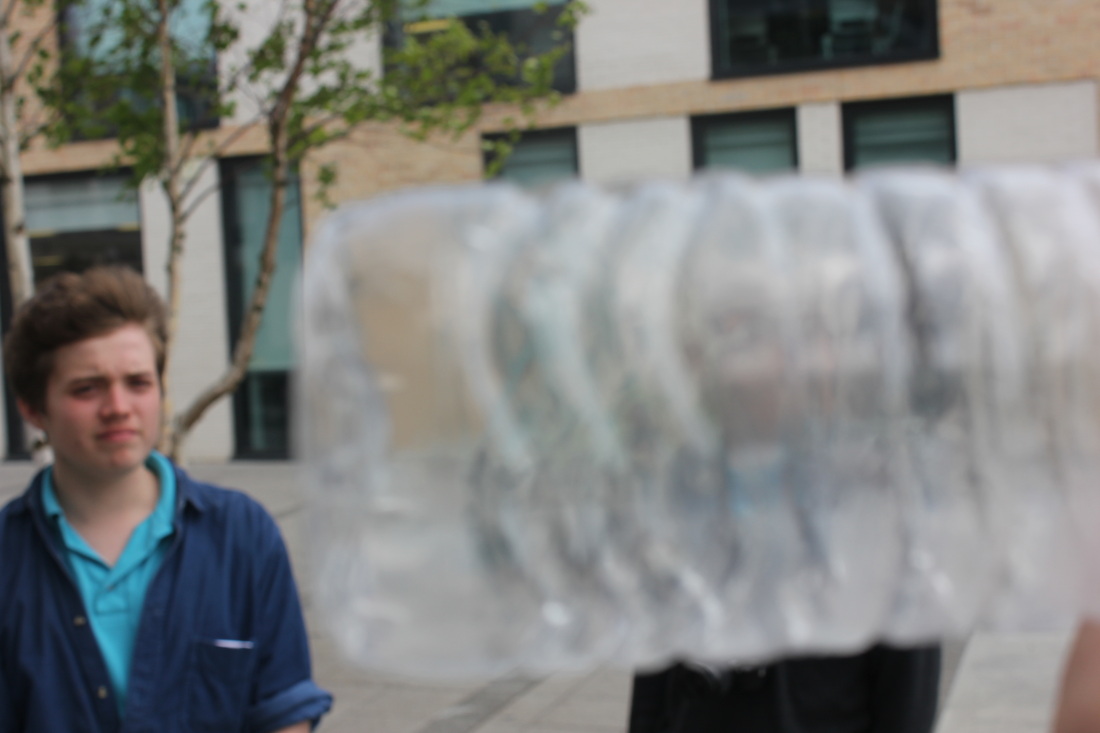
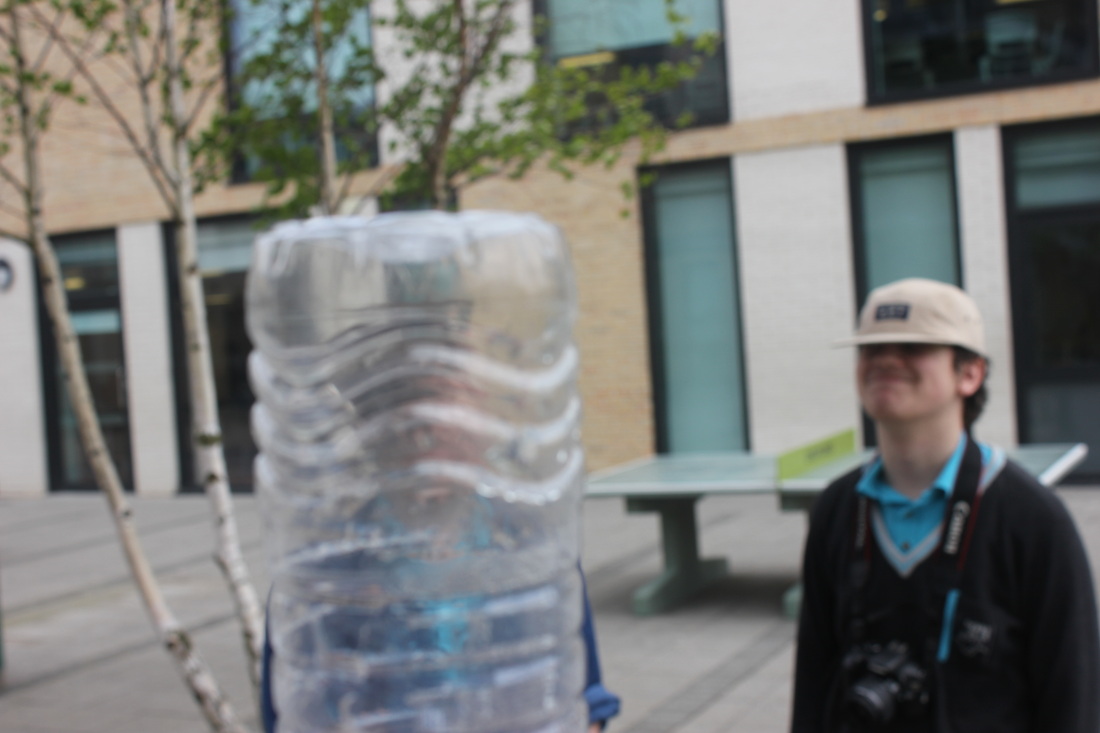
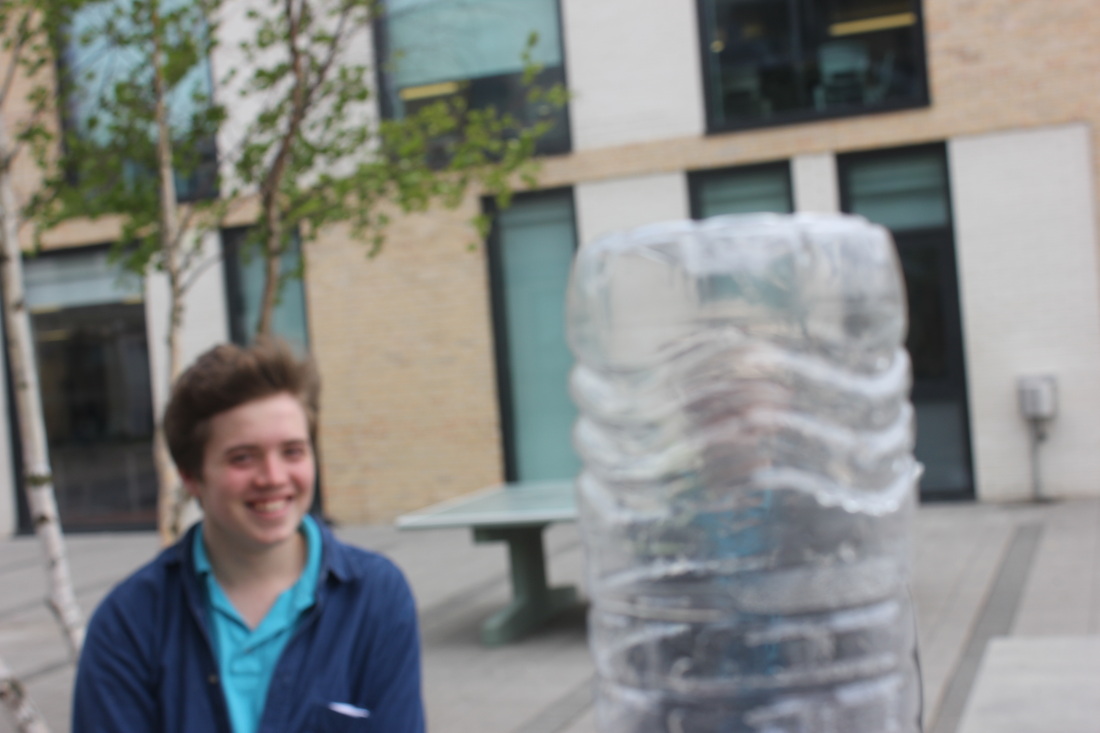
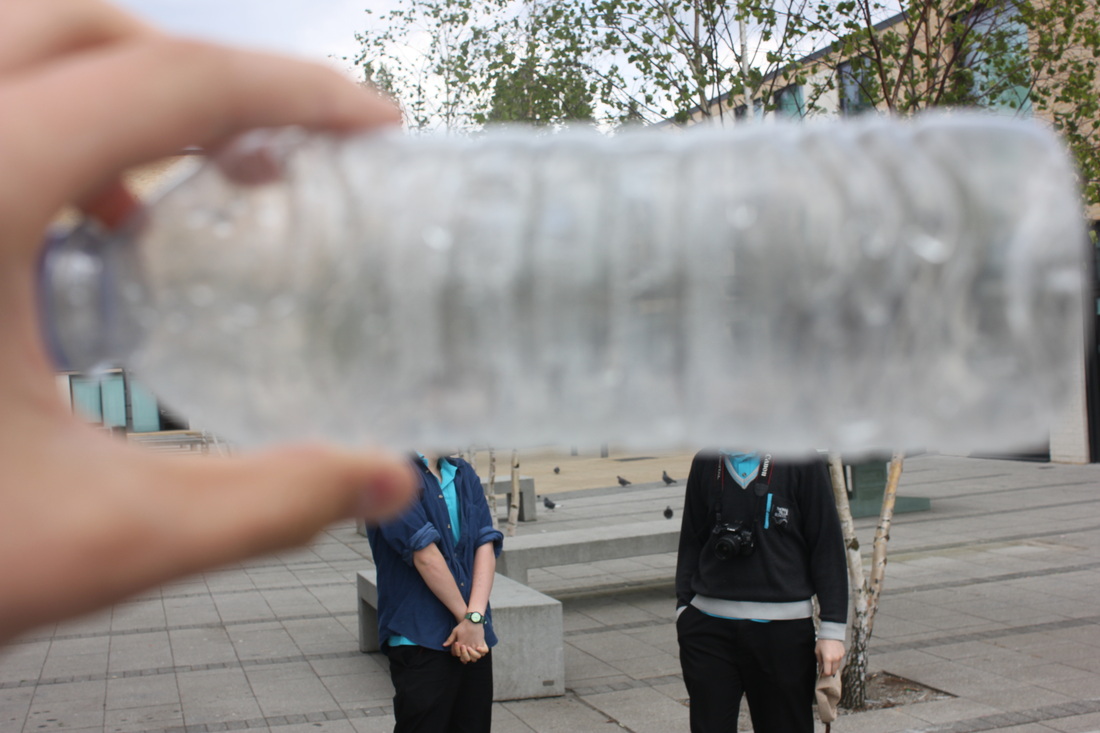
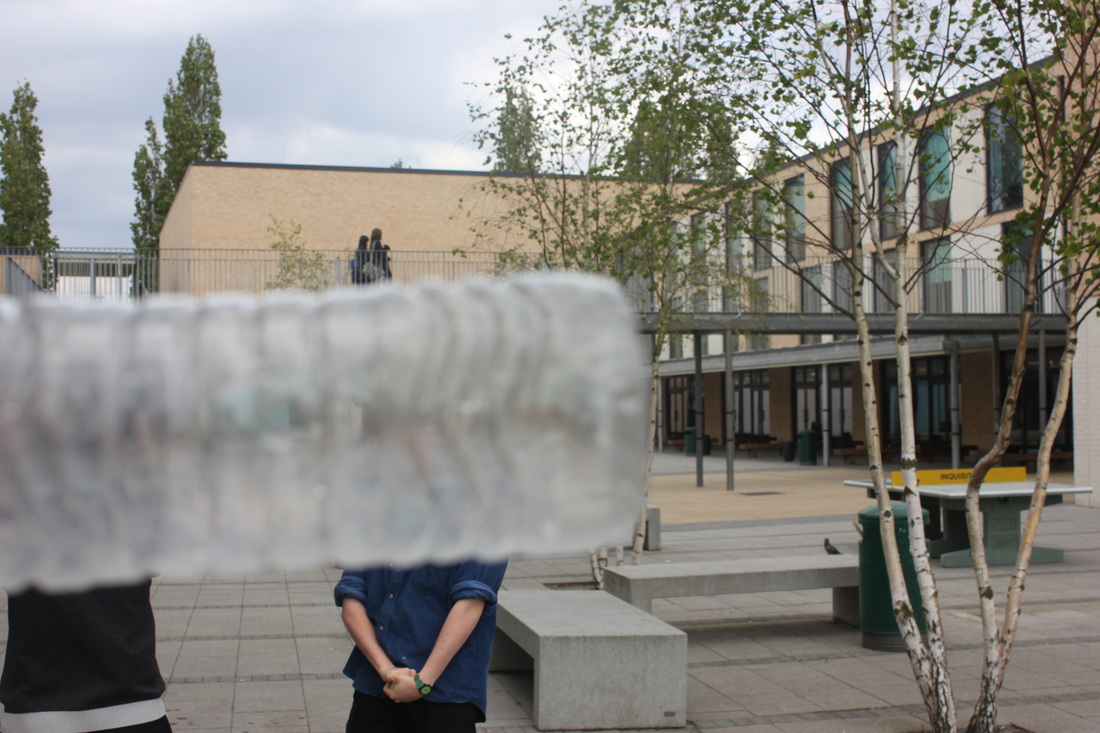
WWWThis was my sixth set and I had mixed opinions on it, however the main aspect i liked from this set was the fact it was a new form of disguise which i had never tried before. As i had control over the water bottle i felt like I could manipulate the images more and i could disguise what ever part I wanted. I liked the translucent effect the bottles produce it has a similar effect to blurring and it has a erie effect as you can see parts of the object through the bottle.
|
EBII had a plan of what I wanted to accomplish from it but I felt like I rushed myself therefore bringing down the quality of the photos. My first two photos as you can see are different from the rest and I think I should of took the rest in the same style as this completely obscures the surroundings and allows one very obscured subject at the end of the bottle. Also changing the way I was taking the pictures halfway through made me lose confidence so i didn't really have a motive for what I wanted to do.
|
Sixth set: picture splicing
Final piece
|
|
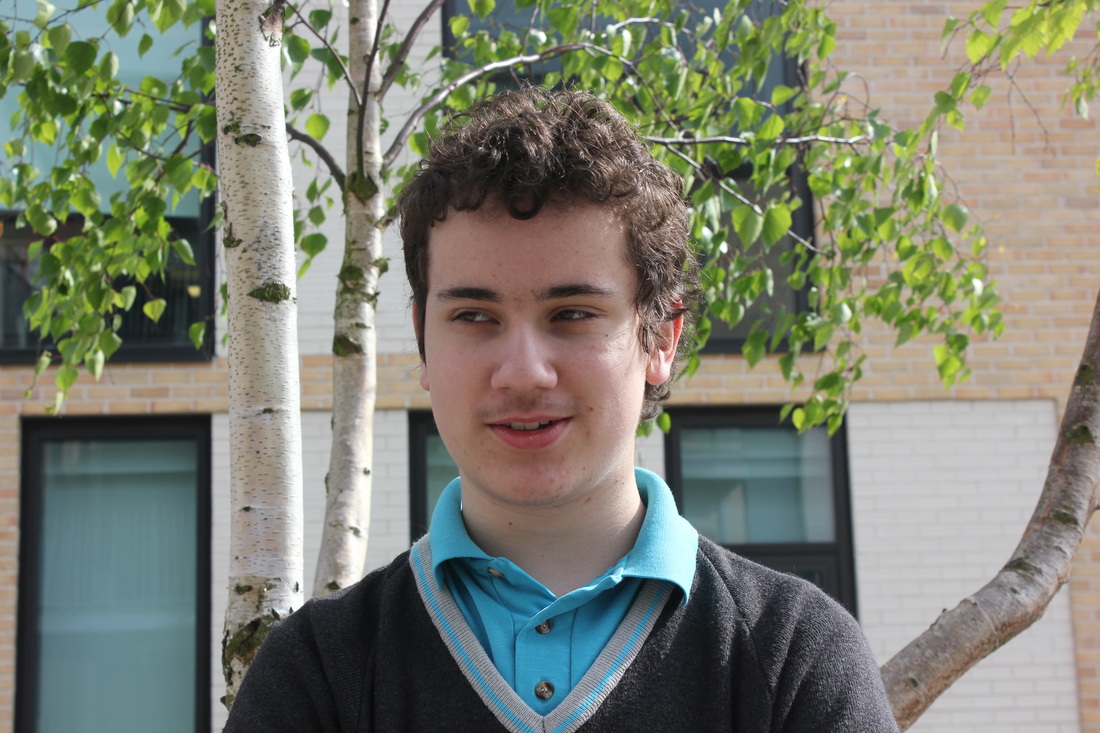
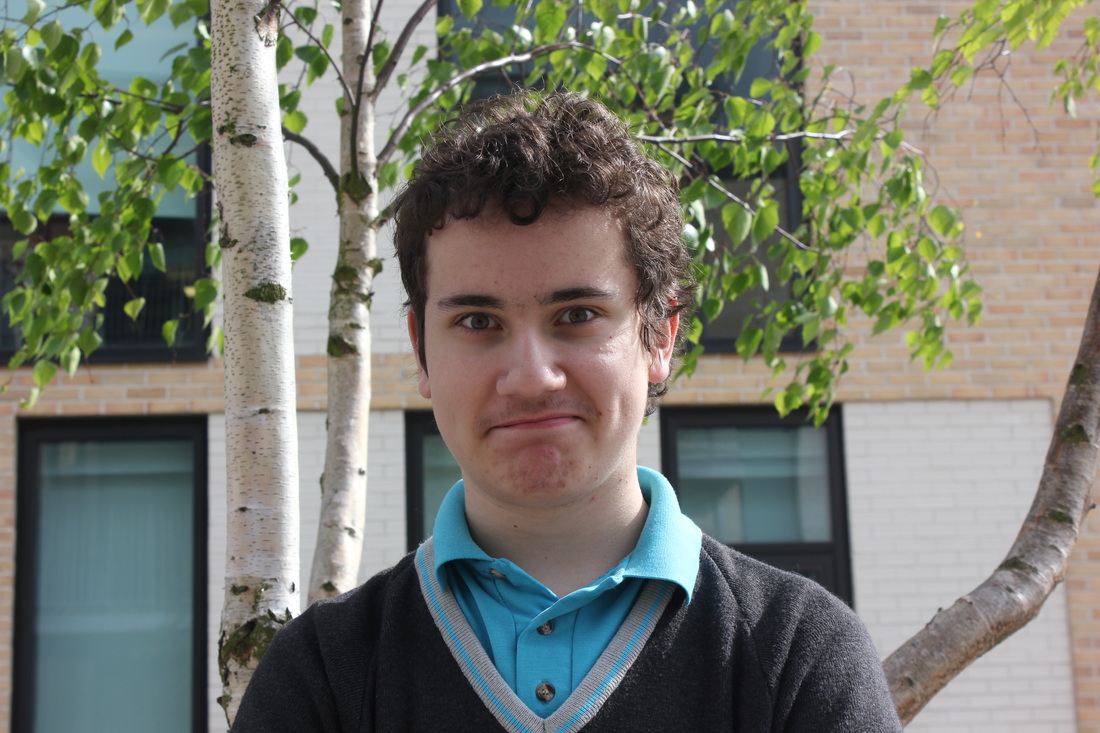
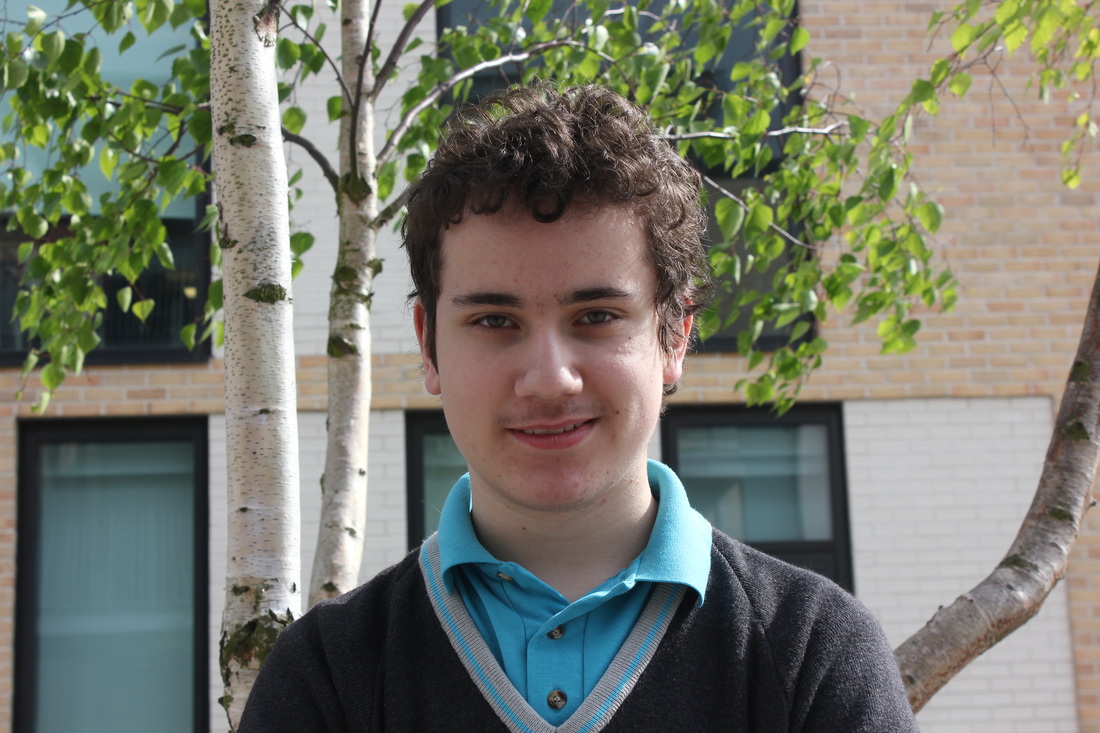
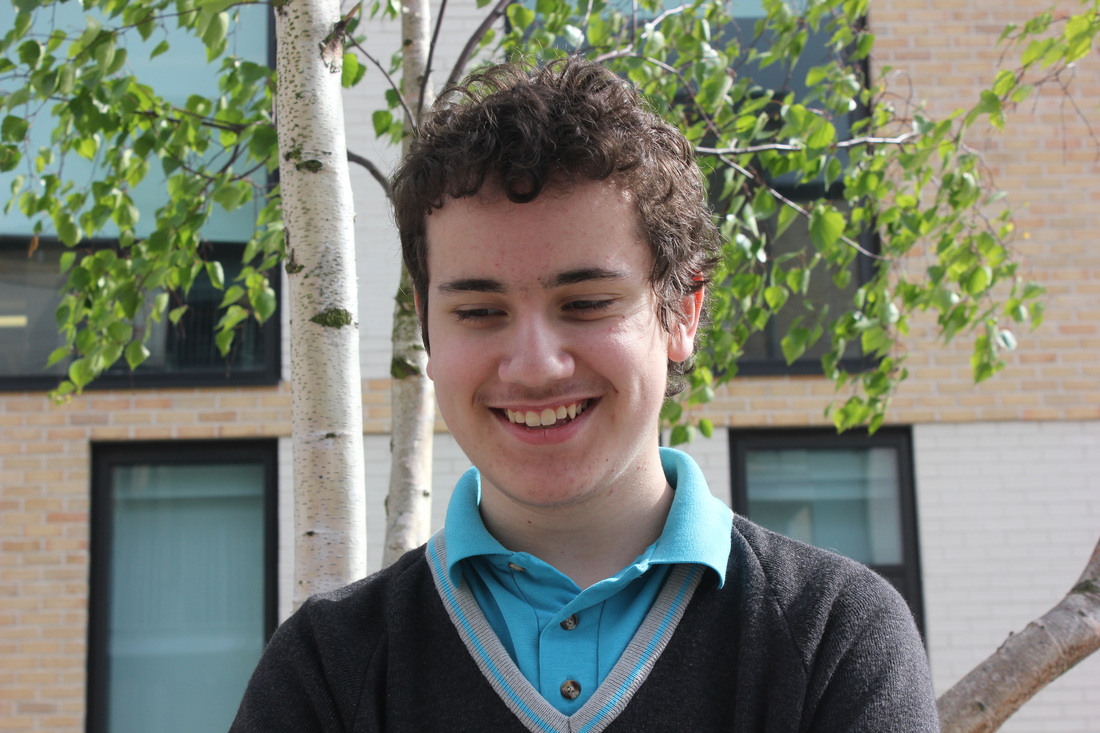
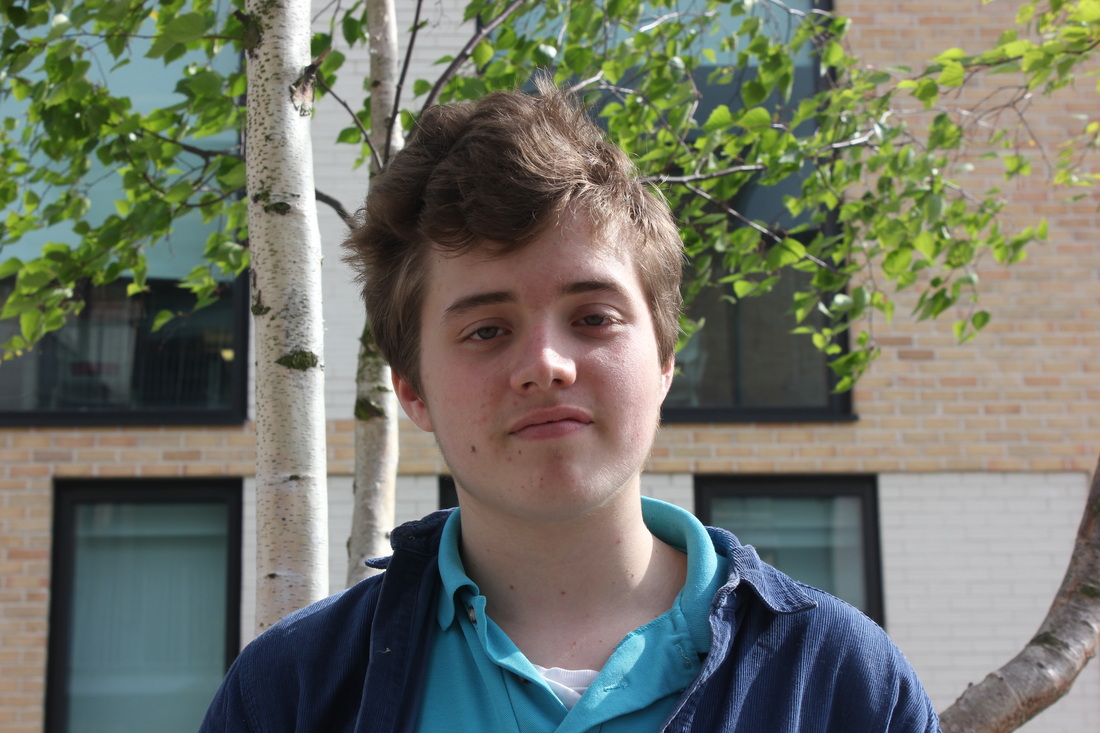
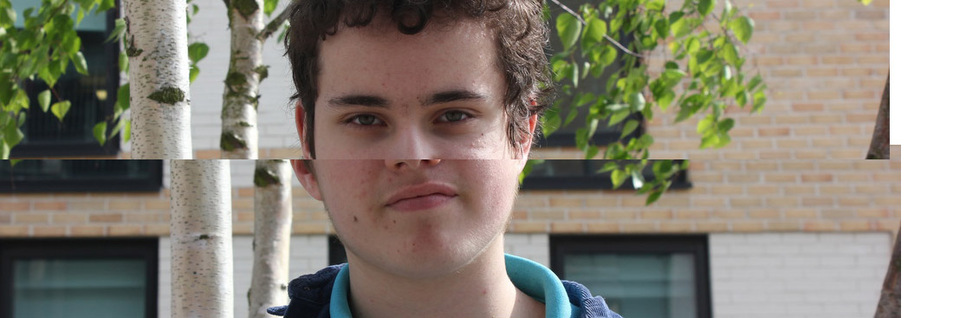
These were my initial photos taken on the DSLR which where to be taken for my final piece. There was nothing special about these pictures just needed a white background and a plain picture of someone. This was because I decided to disguise the subject after the photo rather than before as I feel I can be more creative this way. The number of pictures wasn't important it was just so I've I decided to make more than one i could. I choose one of the pictures of Casper for my final image not for any reason as all the pictures were very similar. After printing i was going to use post cards to stick over the picture to disguise it.
|
Photoshop

|
This was my original picture which I took with the DSLR, it was just a simple picture of casper with a white background which could then be edited later. This was more of a test run to see how the picture would look and I play around with different photoshop features. Firstly the picture had a orange overcast which had to be sorted out before any picture was edited over it
|
|
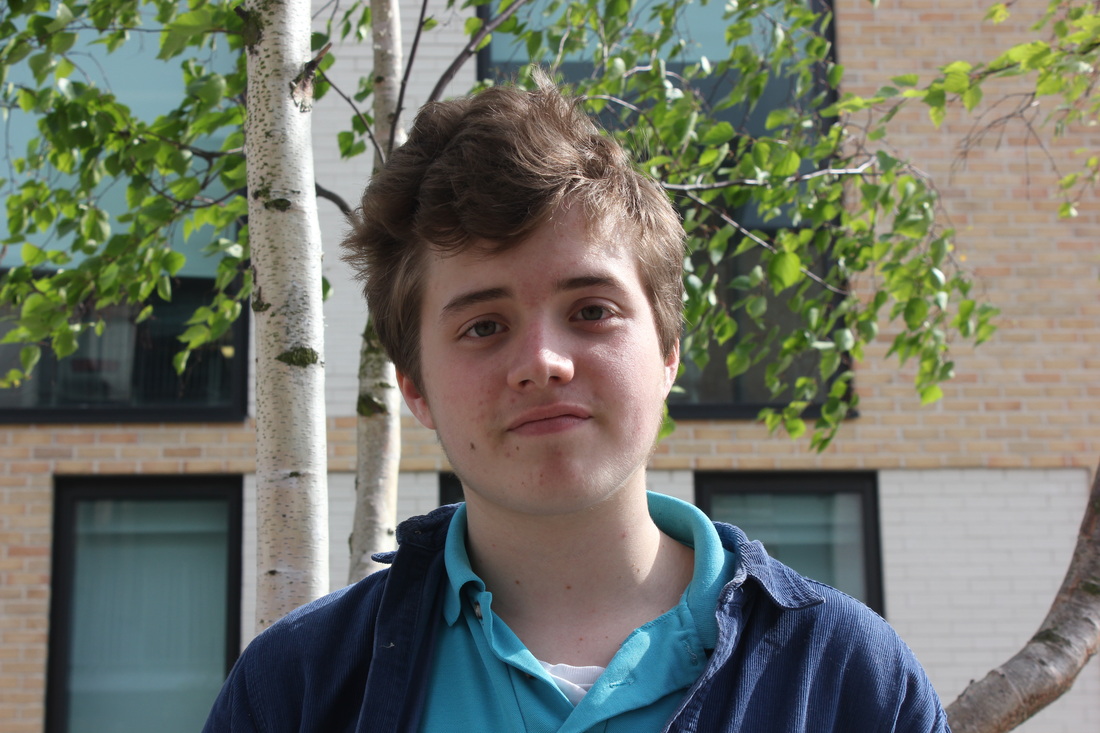
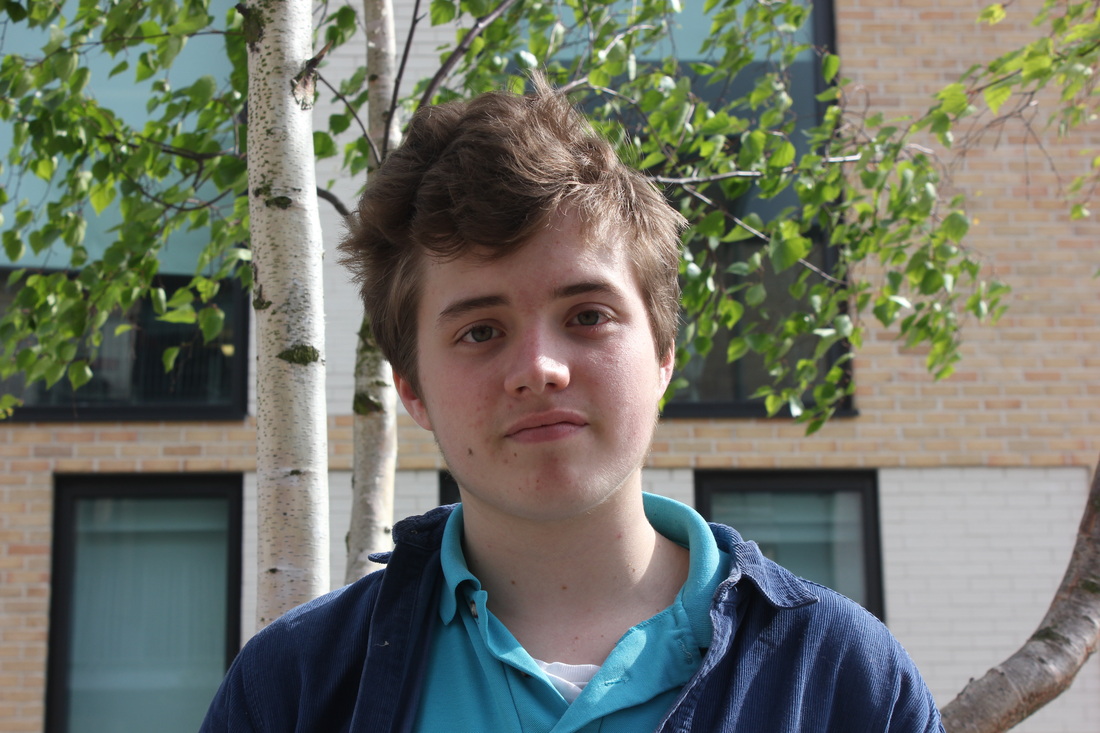
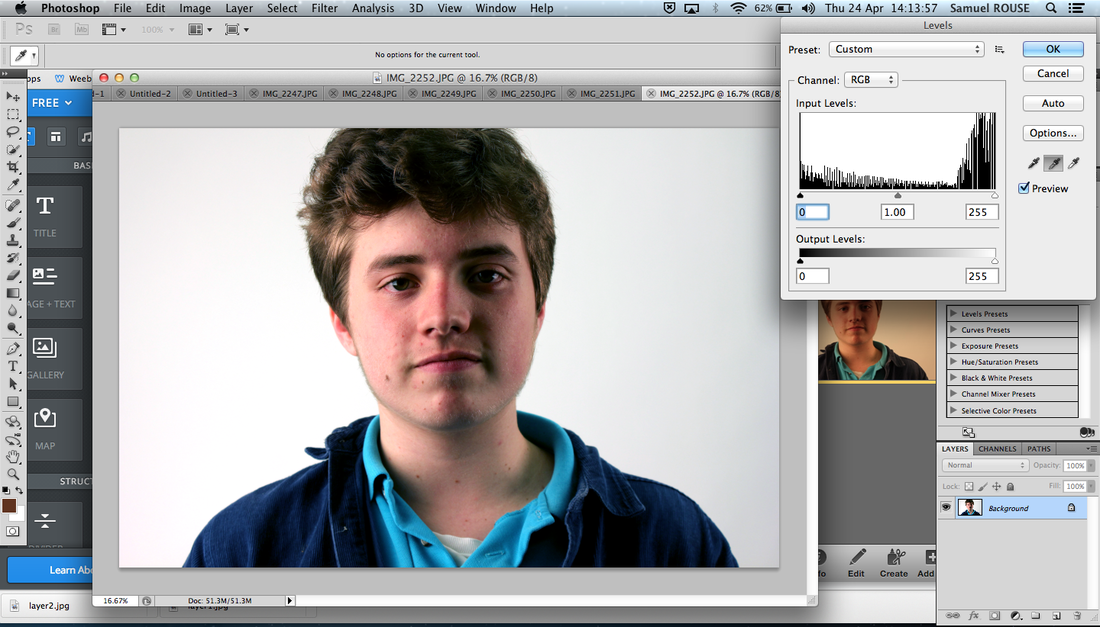
This was the first step I had to do in the creation of my final piece I changed the levels to get rid of any over cast effect leaving it looking a lot clearer. This was a much more presentable image meaning I could now decide what filter I was going to use and other features I could use to make my final piece. The next step was to decide what I was going to have covering his face.
|
|
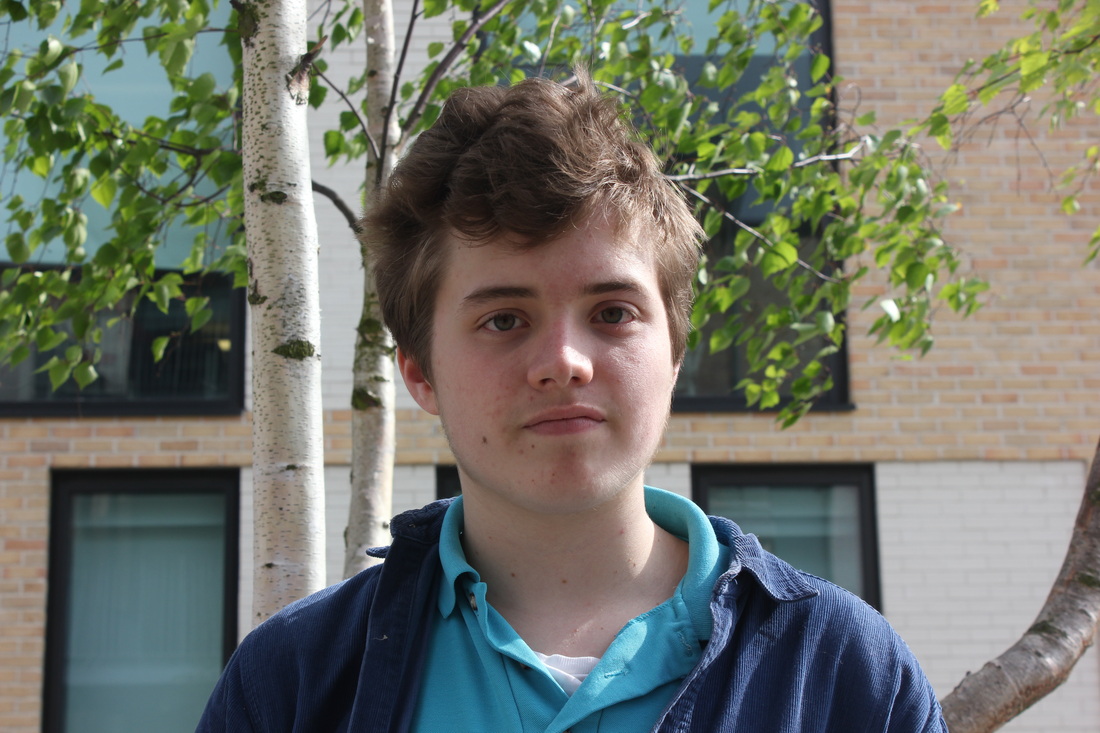
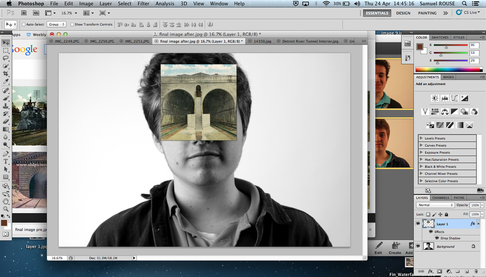
This is my final piece after all adjustments had been made to my picture although in the end I didn't keep this picture but I made two more following the same steps.
|
Final
EBI |
WWW |
Evaulation
The theme I decided to use for my final piece was disguise. I chose this because out of all the different themes we could have used for our final piece I decided disguise was the one that suited me the most. This was because disguise is a very broad range of photography and there's many ways of creating disguise images. You can see some of the diversity in the works of the two photographers as they're very different; however they both fall under disguise
A01) The first idea which I developed for my exam was having a disguise then taking the picture, for example masks or things of a similar nature. As I found this type of disguise interesting my teacher recommended that I looked at the work of Ralph Eugene Meatyard who often has people wear a mask before using some sort of filter or distortion later on. I really liked the idea of a mask to disguise the subject of the image so I had a look at some of his work and made an analysis on one of the images and put up some of his works. However once I tried to create some sets using a mask and other similar techniques I realised the pictures were not as good as I thought so I had to re think. My first set was of people wearing a mask and it looked very boring and not special, than my second set had similar problems but I disguised the subject by having his back turned to the picture. Therefore I thought I would turn my attention to disguising the background instead of the subject; I tried to make a couple of sets but it was unsuccessful. Then my teacher suggested that I look at the work of John Stezaker who disguises pictures by splicing pictures together. I really liked this new style of disguise which I used for my final piece
A02) I have carried out a range of experiments through out my disguise research, this was so that whenever I had an idea I would act on it straight away. I would represent these ideas in Sets which are displayed on my unit 2 page. They are a good idea as they allow to see my thinking through out my research of disguise. I like using this as it allows people to see how my ideas have developed. All of these sets were taken using the DSLR however some of them were edited in photoshop and some were left natural as that was the look I was going for with my images. Whenever I decided to do editing I felt like photoshop was the best choice as there are a large number of tools therefore it is very easy to edit pictures to a high standard. For each set I decided I would review them using WWW and EBI this means I'm able to say my thoughts about each set of images therefore it would be easier to make improvements and I can look back and see the progress I have made.
A03) I have mainly recorded my ideas on my weebly as I find this the most effective way of showing my ideas to anyone who wants to view my work. Any observations that I make I can simply add them to my website which is very useful. Also throughout unit 2 I have mainly used a mix of galleries or slideshows when I wanted to display multiple images. Although if there was one which I wanted to have a lot of attention e.g favourite image, I will put it in a single image as it diverts attention to them. However If I feel all the pictures need to be seen from a set to appreciate its feel, I will use a gallery instead. I have tried to show my research in interactive ways which is why I have used screenshots, hyperlinks and videos to show the range of research I have done, whether it being a brainstorm on popplet or a screenshot of my pinterest page show pins of disguise photography. However I have tried to make the site flow and not just have it laid in a random way as this ruins the look of the page and having some order makes it seem logical.
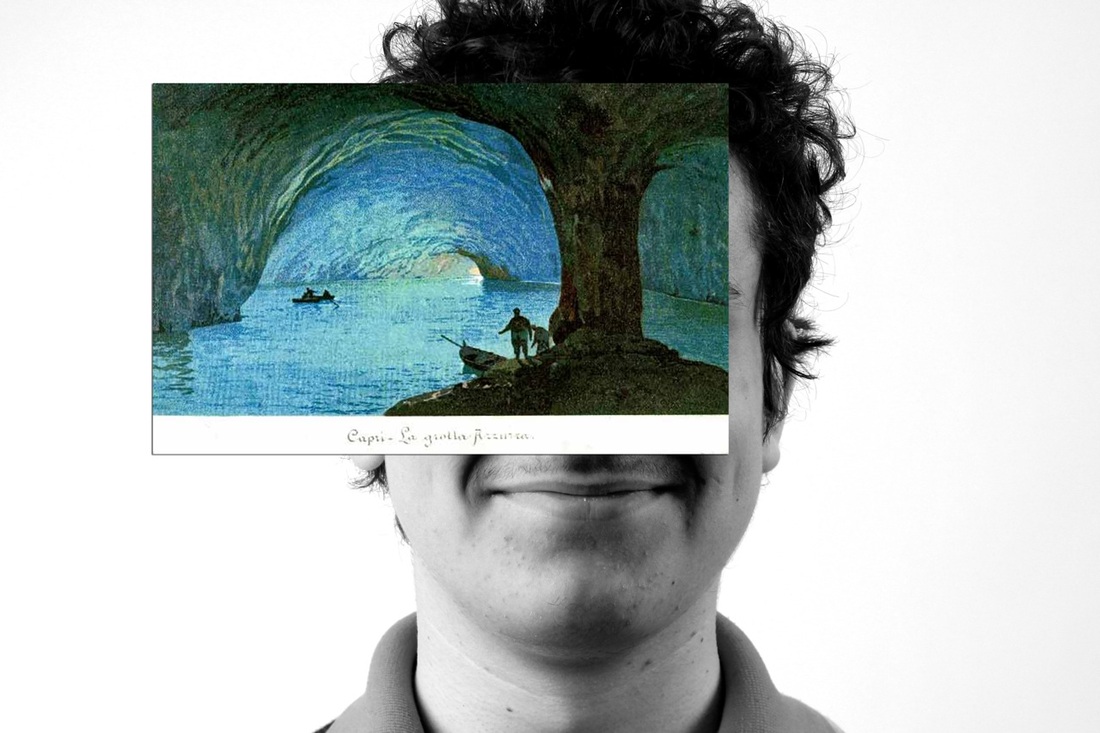
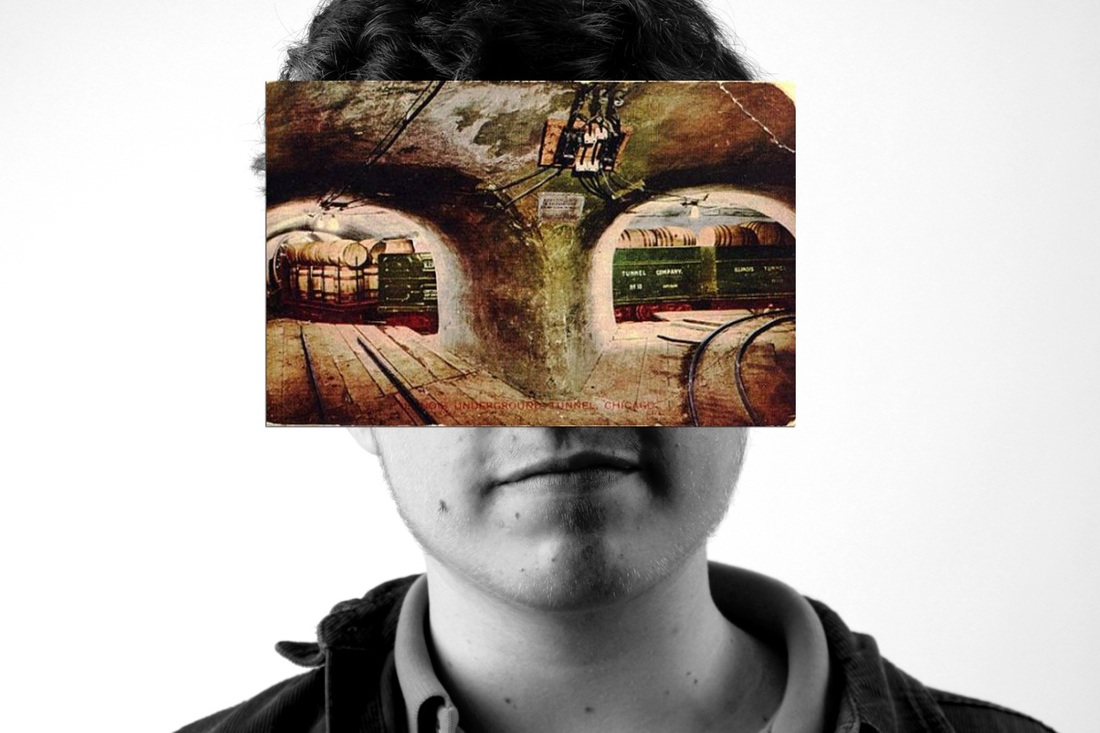
A04) I have created one final piece as a response to Jaromir Funke, I decided to edit a picture of something, for example vintage photographs of train tunnels, and photo shop them over peoples faces. The two pictures were printed as an A3 as I felt like this was the ideal size as it was roughly the same size as someones head in real life. I made the pictures black and white and gave the edited print a slight shadow so it looks 3D as if it's standing off the page and it was in colour to really contrast the two pics. I'm satisfied with the two separate images and I have evaluated them using a EBI and WWW format which allows me to see how successful the image was. There was two separate images both of which had been edited in the same way but they are part of the same final piece as they are really similar.
To conclude I'm happy with how this unit has gone and I think I accomplished all that I needed to, also WWW and EBI has allowed me to make improvements to my sets and ultimately gave me a final piece i'm am very pleased of.
A01) The first idea which I developed for my exam was having a disguise then taking the picture, for example masks or things of a similar nature. As I found this type of disguise interesting my teacher recommended that I looked at the work of Ralph Eugene Meatyard who often has people wear a mask before using some sort of filter or distortion later on. I really liked the idea of a mask to disguise the subject of the image so I had a look at some of his work and made an analysis on one of the images and put up some of his works. However once I tried to create some sets using a mask and other similar techniques I realised the pictures were not as good as I thought so I had to re think. My first set was of people wearing a mask and it looked very boring and not special, than my second set had similar problems but I disguised the subject by having his back turned to the picture. Therefore I thought I would turn my attention to disguising the background instead of the subject; I tried to make a couple of sets but it was unsuccessful. Then my teacher suggested that I look at the work of John Stezaker who disguises pictures by splicing pictures together. I really liked this new style of disguise which I used for my final piece
A02) I have carried out a range of experiments through out my disguise research, this was so that whenever I had an idea I would act on it straight away. I would represent these ideas in Sets which are displayed on my unit 2 page. They are a good idea as they allow to see my thinking through out my research of disguise. I like using this as it allows people to see how my ideas have developed. All of these sets were taken using the DSLR however some of them were edited in photoshop and some were left natural as that was the look I was going for with my images. Whenever I decided to do editing I felt like photoshop was the best choice as there are a large number of tools therefore it is very easy to edit pictures to a high standard. For each set I decided I would review them using WWW and EBI this means I'm able to say my thoughts about each set of images therefore it would be easier to make improvements and I can look back and see the progress I have made.
A03) I have mainly recorded my ideas on my weebly as I find this the most effective way of showing my ideas to anyone who wants to view my work. Any observations that I make I can simply add them to my website which is very useful. Also throughout unit 2 I have mainly used a mix of galleries or slideshows when I wanted to display multiple images. Although if there was one which I wanted to have a lot of attention e.g favourite image, I will put it in a single image as it diverts attention to them. However If I feel all the pictures need to be seen from a set to appreciate its feel, I will use a gallery instead. I have tried to show my research in interactive ways which is why I have used screenshots, hyperlinks and videos to show the range of research I have done, whether it being a brainstorm on popplet or a screenshot of my pinterest page show pins of disguise photography. However I have tried to make the site flow and not just have it laid in a random way as this ruins the look of the page and having some order makes it seem logical.
A04) I have created one final piece as a response to Jaromir Funke, I decided to edit a picture of something, for example vintage photographs of train tunnels, and photo shop them over peoples faces. The two pictures were printed as an A3 as I felt like this was the ideal size as it was roughly the same size as someones head in real life. I made the pictures black and white and gave the edited print a slight shadow so it looks 3D as if it's standing off the page and it was in colour to really contrast the two pics. I'm satisfied with the two separate images and I have evaluated them using a EBI and WWW format which allows me to see how successful the image was. There was two separate images both of which had been edited in the same way but they are part of the same final piece as they are really similar.
To conclude I'm happy with how this unit has gone and I think I accomplished all that I needed to, also WWW and EBI has allowed me to make improvements to my sets and ultimately gave me a final piece i'm am very pleased of.
